Daz 3D is part of 
Connect
DAZ Productions, Inc.
7533 S Center View Ct #4664
West Jordan, UT 84084
Licensing Agreement | Terms of Service | Privacy Policy | EULA
© 2025 Daz Productions Inc. All Rights Reserved.
Comments
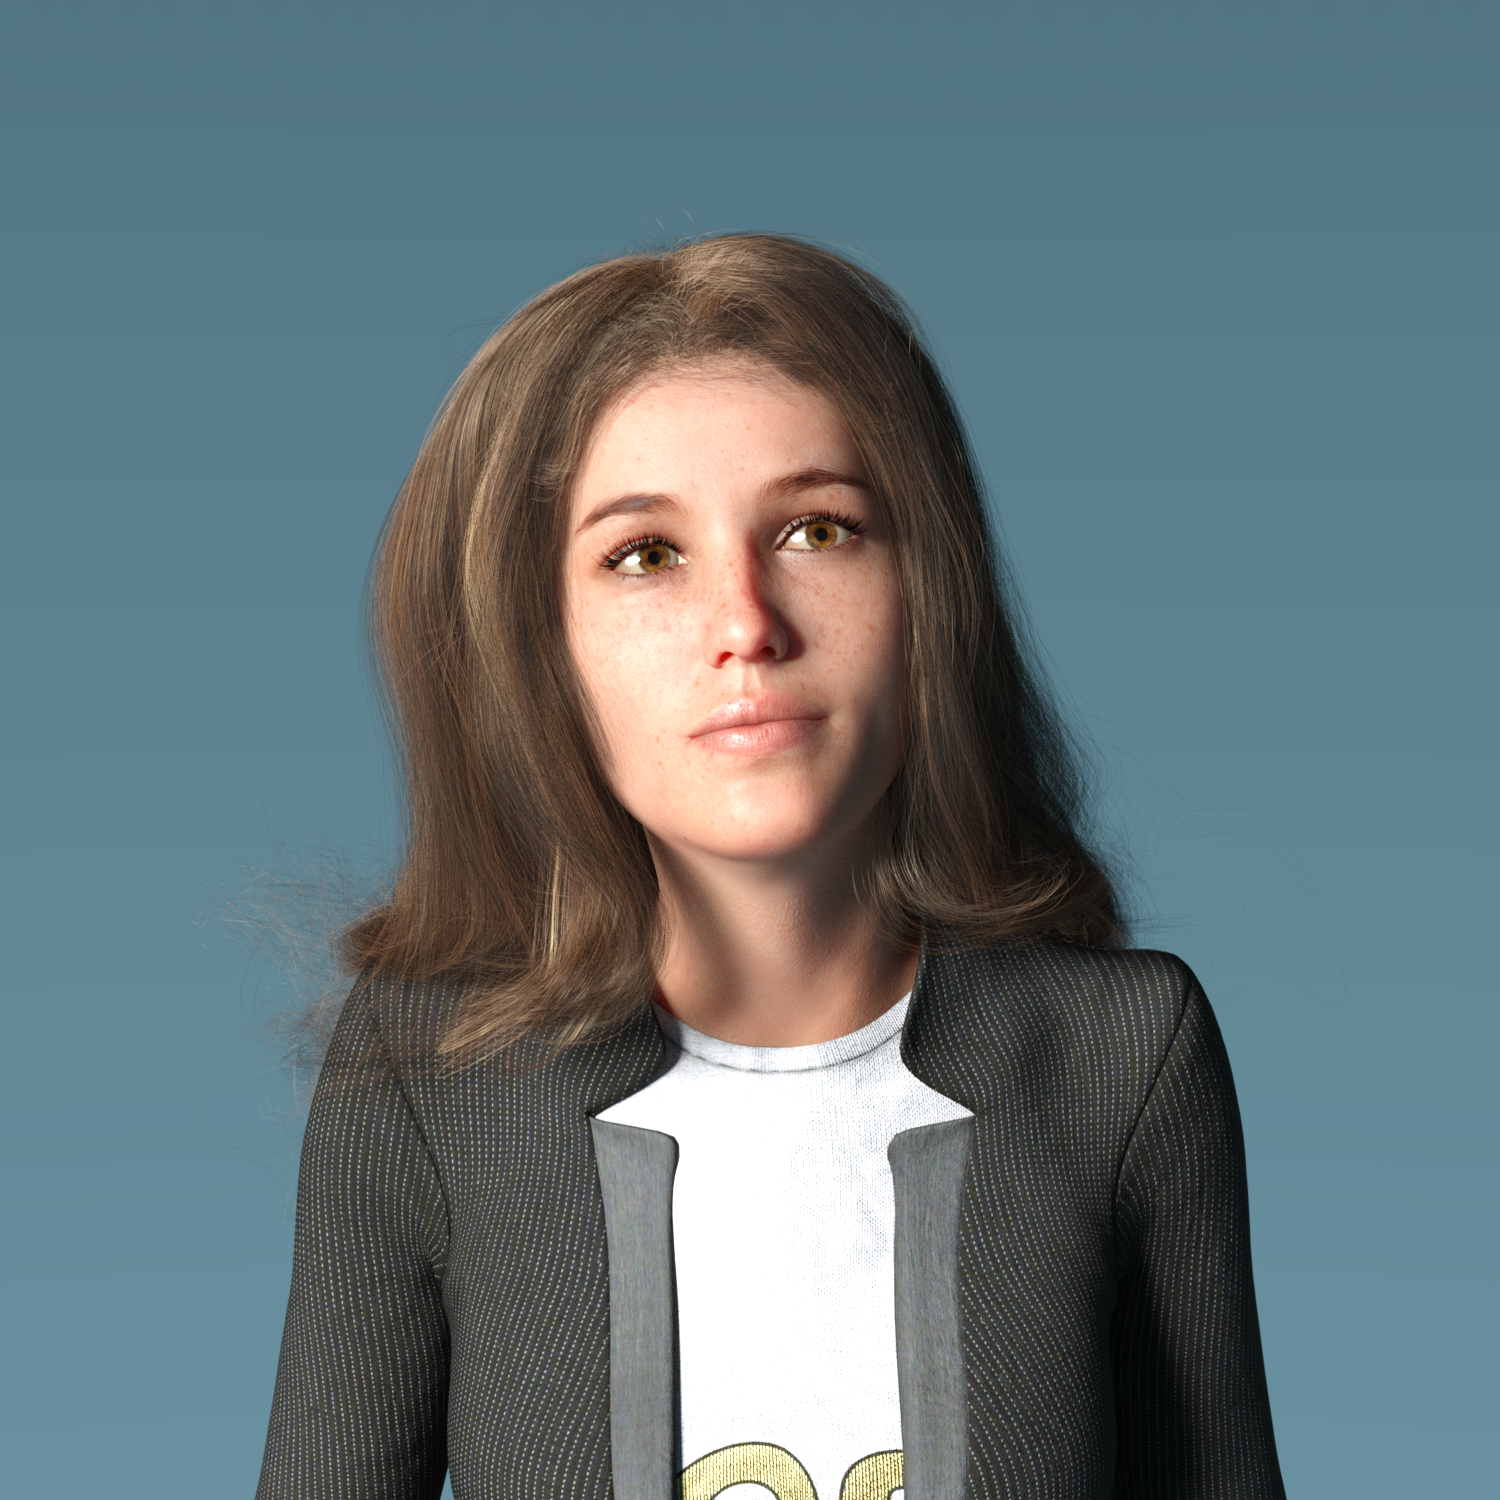
ok ... i like this hair ... i tried some more intense poses, but i did not see the hair drop straight down or to the side..kept right like in this render ...

but this one shows the hair ... it glows nice in the light set I used. https://www.daz3d.com/aurous-iray-lights
Don't look at her eyes though.
Well a few more hints with simulating. Shut everything off that is not actually colliding with the hair, right down to the eyelashes. Set up an animated sim and just walk away for awhile.
More info following.. for the hair shader!
I have attached a couple of reference images of glossy layered weight /roughness, and the highlight options. As you can see, once you get the glossy weight up around .5 it starts to turn metallic. Going higher on the roughness just dries the hair out more.
Too much highlight adds a thick white coating.
Highlight roughness does.. nothing? I am stumped. I don't see any discernible difference.
thanks... i was just wondering about that glossy and didn;t really fully look at the material settings. I rendered and image and thought, she has some dry looking hair ..needs some shiny :) Next post you will see.
You are very welcome Daveso :) The hair you rendered looks really nice btw!
My original model setup crashed DS, but I think it was casued from trying to simulate the hair through the models head and shoulders.
Anyway, try 2. I thought the hair looked a bit lifeless, dry or something, but I had not looked at all the material settings.
It is really nice hair though... a like the little flyaway bits. There is one spot on her left side looking straight on where there is a straight down piece. Not sure why that didn;t bend a bit in the simulaiton.
Looks great!!! Sometimes the little flyaways need more time to settle. If they bug you, you can resim and increase the stabilization time from 1 to 2.
The images I posted were my second go. I had DS crash on me the first time when attempting to render, so I started over using no scenery.
thanks. I usually just hit simulate and let it rip. I've seen a couple tutorials on dforce, need to study those. I think I'm missing a lot of fun and really nice tweaking.
I love the flyaway stuff tohugh. Makes the hair more realistic looking, imo.
Really great looking hair. Some great renders too.
Thanks Nic :)
Just a head up that I also added one more reference image up above if anyone is interested in the highlight stuff too.
Maybe consider doing something like Mihrelle did with her Curly Bun?
Ok, I'm having some problems...
1. It was a G3 hair trying to fit on G8. I had read in the forums to look in lost & found and tried that hair. Neither hair is named G3 or G8 so theres no way to know which is which,
2. I can't find Viewport LineTesselation sides
3. The BIGGEST problem: There is nothing that says Actor and no morphs at all that I can find.
Please help! Looking forward to trying this beautiful hair!
In the scene tab, expand "dForce Sea Salt" and Select "Sea Salt". The Line Teslation and Morphs will then be in the Parameters Tab.
"Ok, I'm having some problems...
1. It was a G3 hair trying to fit on G8. I had read in the forums to look in lost & found and tried that hair. Neither hair is named G3 or G8 so theres no way to know which is which,
2. I can't find Viewport LineTesselation sides
3. The BIGGEST problem: There is nothing that says Actor and no morphs at all that I can find.
Please help! Looking forward to trying this beautiful hair!"
Ok.. I have to apologize for the lack of G3 label in smart content . I think it was Barbult that had mentioned it to me after the soft curls was released. I did try. I just checked the folder and all the materials are marked, but I missed the actual hair objects. Sigh. Sorry for that confusion guys. I will get better at this I swear!!
I am making a list now of presets and improvements so that I can knock this stuff out of the park. - So going forward G3 will have a dang G3 label (sigh.. how did I miss this?)
I will try and include a couple gloss options
A hmat preset to get these hairs to show in the NVIDIA viewport ( another thing I keep missing and meaning to do)
I would eventually like to include a pdf but I honestly have had no time to write a book. There is a lot of information, and every hair is so different. Maybe I can figure out a way to include a link that takes artists to these forum pages at the very least.
If there is anything else that you think I need to include in the future please let me know.
I may have a work-round. I'll post an example I'm trying out with a PhilW hair; if it works as I need, I'll be getting this. I suck at creating hair in Blender; occasionally I get one I like, but if my work-around works, it would save me some time.
OOO.that will be excellent!
well...
Working on the shader; I only did a quick sim in studio before exporting, so some ear poke-through. The scalp is someting I'm working on.
Custom shader, and I've got some interesting colour highlights - it's basically a work in progress. Think I'll try a noise texture now, instead of (or maybe as well as) the veroinoi texture, which was responsible for the interesting colours.
Congratulations! It is one of the most beautiful hairs in the store!
Going to try one of your hairs now - hope I don't ruin it; do you mind if I post the results here? Dont want to hijack your thread.
Thank You Virtual World :)
Go right ahead.. if you are having luck getting the hair into blender it would be great to know!
will there be an update then for this hair?
As soon as I can find some time, ill ask to submit an update and save everyone some headaches.. so yes.. it just may be awhile.
thats

very cool,
of you,
to do.
The hair is really nice. Great product. Thanks
But will the hair hang straight down if I hang my model upside down over a tank of sharks (Think Perills of Pauline)
You are very welcome :) Thanks for the compliments!
LOL. Yes. If you simulate it.
It's not straightforward, but not too bad either.
I used https://www.daz3d.com/dforce-soft-curls-for-genesis-8-and-genesis-3-females which is really great.
Obviously it's a custom shader (as is for anyone wondering the skin material cloth material, and the beads).
I exported the hair as an object in the pose I wanted. After importing I had to change the strands into very thin geometry - which creates a lot. This one was less than the one posted previously. The image rendered in about 14 minutes (most of the time was pre-rendering, which is unusual).
Thats pretty interesting nic. Im stunned that Blender can see the lines and do stuff with it. I have tried importing the lines into both Maya and Zbrush with no luck at all.
OKay, thanks, I was aksing because I have your Soft Curls Hair and this is what I got when I tried the Pereils of Pauline test.
You could try turning limits off on the Gravity setting and turning it to 65. I also recommend these settings prior to simulation:
And dialling up the "Stretch Stiffness" (in the surfaces tab) to 1.00.
You can probably tweak it a bit more, but that should help. Those settings with Soft Curls hair end up simulating like this: