Carrara rigging for Cyborg Model 4 from Dzfire
So I built this rig to solve the problem with Carrara's point at modifiers not working on Cyber M4's pistons. I thought I'd share it to save you some work if you want to use this figure in Carrara. Not to worry though, you will still have to complete the largest task yourself in order to make this work, setting the bones influences on the polygons. I'll go through the steps.
First create a new scene, load Cyborg model 4 into that scene, Go to File, then save as, set file type to wavefont .obj and save the file.
Close that scene, saving is not necessary.
Now open the file you downloaded here, Go to the File menu, then import, navigate to the obj you just saved and import the file. Make sure to check disable auto scaling on the import settings screen before pressing ok,
Next just check to make sure the bones are aligned with the obj, select the hip bone and it should highlight the whole skeleton, so you can see it through the obj.
If everything looks ok with the hip bone still selected press shift and select the obj as well.
Go to the Animation menu, then attach skeleton. Do not parent the hip to the obj before doing this. After the skeleton is attached you can parent the hip to the obj, select the obj, Go to the animation menu and slect "create animation group" this will give the figure NLA capability.
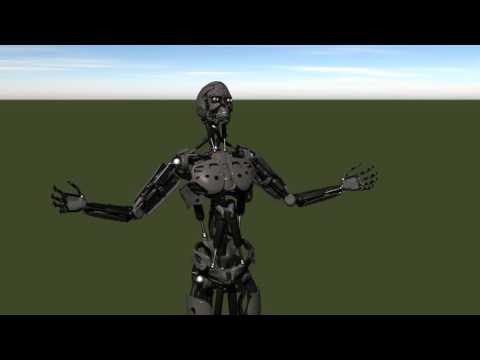
Now you can move him around, but he looks like he's made of rubber. The polygons are being moved by more than one bone at a time, since this a machine, and not a fleshy creature, each polygon needs to be controlled by one bone.
So select the obj and go to the modeling room, select animation mode and then the bones tab.
I recommend starting with the chest bone, the chest is very dense with lots of tiny polygons. go to the front view and do a marquee selection the includes every polygon that should be controlled by the chest bone. Don't worry about overlapping onto other areas, just get everything that is a part of the chest.
Now in the right panel you should see a slider for every bone that has some influence on the selected polygons. There should also be an "add" and a "remove bone" button.
Now remove every bone except the chest and the hip (you can't remove the hip)
Slide the chest slider up to 100%, and now the chest won't stetch during movement.
Once you repeat this process for all the bones your new figure will be ready to use. (you'll have to use other selection methods in order to do this for the rest of the bones.) If you miss a polygon here and there it will become obvious when you move the figure, because they won't move with the others. Just go back to the modeling room, to animation mode. and you'll see the out of place polygons just as you do in the assemble room, which makes them easy to select.
Point at modifiers for the pistons and constraints are already in place.
https://drive.google.com/folderview?id=0BxdhTup7aKzqeGEzdXlsNEZFY2c&usp=sharing
Here's another tip. In order to align the bones with obj. I created a new shading domain for the spheres or ball joints that are at nearly every joint on the model, and load a simple dark colored shader. Now create a new shader with an alpha value of 0 and load it into all the other shading domains. Now you can easily see the joints, and use your isometric views to align the bones to the spheres.
Daz 3D is part of 
Connect
DAZ Productions, Inc.
7533 S Center View Ct #4664
West Jordan, UT 84084
Licensing Agreement | Terms of Service | Privacy Policy | EULA
© 2025 Daz Productions Inc. All Rights Reserved.