Photo Studio Kit problems
 vex3d
Posts: 130
During render I get this message:
Error Message during Render
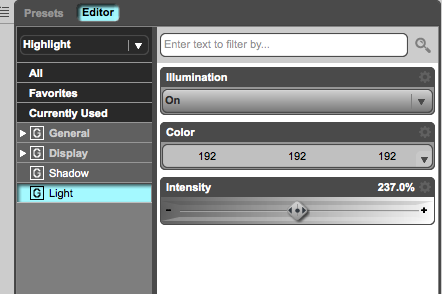
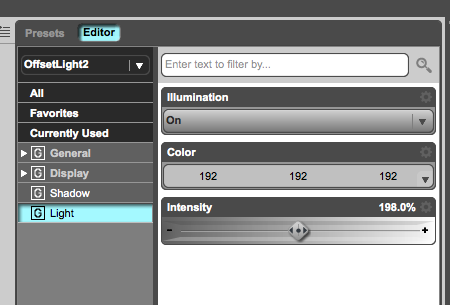
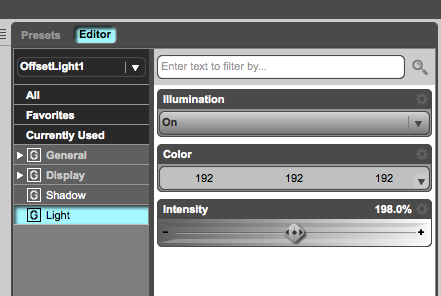
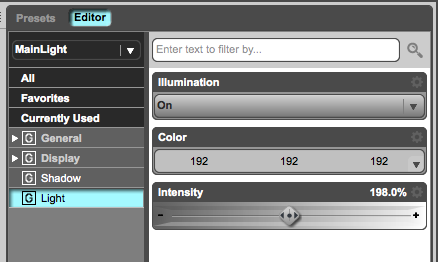
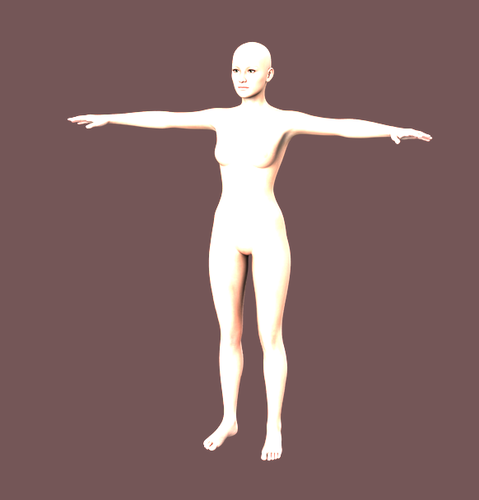
I've only just loaded G2, Loaded the Lights and Material settings from the Photo kit and all I get is blown out lights...
using DS 4.6 on Mac OS X 10.9.3
latest Ubersurface 2 is installed

Screenshot_2014-06-18_09.14_.07_.png
442 x 294 - 27K

Screenshot_2014-06-18_09.14_.03_.png
450 x 305 - 28K

Screenshot_2014-06-18_09.13_.58_.png
441 x 296 - 28K

Screenshot_2014-06-18_09.13_.53_.png
438 x 262 - 27K

Screenshot_2014-06-18_09.11_.16_.png
582 x 607 - 51K
Post edited by vex3d on


Comments
The error message is not a problem, as it says the shader is old and needed to be recompiled to work with current render version. The intensity values are way to high, try knocking them back to about half their current values. Set the two OffsetLight(s) Illumination to Diffuse only and the Highlight light to Specular only.
Thank you for the advice. My question now is - why is a preset priced at $17 not resemble the promos and require tweaking to get a usable result? I assume it didn't make it through DAZ QA and this is its intended affect?
I feel like I did something wrong to get these results instead of getting what is shown in the promo images.
I just looked up the product, it says it requires UberSurface2 Layered Shader, do you have that? I seldom use any of the 'uber's as they can be such a pain to set up right.
I had no such problems.
Try turning on gamma correction.
ahh.. Gamma correction was the key! Thanks for the suggestion, evilded777. I can see moving the gamma slider is going to give results as shown in the promo renders.
In the light preset folder, there is a Cool.dsa and Warm.dsa preset that is flagged with a Material(s) tag. Hold down the Ctrl key and click on either one and it brings up the Pose Control panel !!?
There is no transforms encoded into the Cool/Warm preset, only colors. You don't have to hold the Ctrl key when you want to use them on any of the lights.
The Ctrl key is used on the Scene tab to select multiple lights so you can apply the preset once to change the colors of multiple lights.
As for the gamma correction/settings, the readme did mention that these lights and MATs are meant to be used with gamma correction enabled at a gain/gamma of 1.0/2.2. Here's the link for you convenience - http://docs.daz3d.com/doku.php/public/read_me/index/19202/start
Thanks for the clarification Wowie. I didn't realize lights can be adjusted with a pose file and the materials tag and icon image was throwing me off and I was trying to apply it to the figure materials. Will make a point to go over the readme, which I had hastily read.
Since there do not appear to be any other threads about this product, please permit me to say that these material settings rock!
Lights don't serve my purposes, but that's really okay.
I've been waiting and hoping to see these for a while...will now be my go to settings for a variety of projects. Can not thank you enough, wowie ,for the time and effort put into these.
A word of caution for any intrepid users: if you are using transparency, don't try to copy and paste materials. I think this is an issue with the shader, not this product; but my experience may help someone. If you need transparency, replicate settings by hand. Its a pain, but its worth the effort.
And yes, you can use these settings on virtually any model with virtually any texture and get excellent results. Spec maps are the biggest bugaboo, which is why I make my own now. They may not be perfect or 'correct' but at least I get consistent results.
Also beware displacement maps with black, turn off the minimum displacement unless you want to see some psychedlic results. That is, again I think, the shader and not the settings.
I would love to see other people's explorations of this. I am just about finished adapting Lantios and Morris' M4 Karass...and he's sexy!
I'd also like to see that. I've been working on translating the settings to the various Gen4 Elite MATs (except for Reby, Stratton and Katie since I don't have those sets)
I'm not clear what you mean by transparency, but you can save the settings for a surface as a shader preset (without maps). That way, you don't have to enter each value by hand. Just select the surface you want to use the settings with, apply the preset and that's it. The only thing that may need tweaking is UV sets (ie saving with an M6 texture means the shader preset will default to the M6 UV layout).
Wowie, I'll give you a quick example of transparency acting wonkie (and I do think its the shader). Try copying and pasting from M4's hip onto his genitals and then re-apply the correct texture maps including a transparency map (not all do have them, but many). It simply gives the most bizarre effects, and the transparency is mostly ignored. I have come to realize with no opacity settings that one is NOT going to be able to use the second layer, so in this instance the genitals are not going to look exactly the same. Perhaps there is some way around this? I'm not too worried about it, but would love to know if there is some way to accomplish it.
I will try saving a preset for the genitals and seeing what happens.
It could all be in the copy and paste, because I have had luck.
I'll post my M4 Karass tomorrow once he's no longer naked.
OK I see. If I understood you correctly, this is applying the skin materials with transparency maps and you're seeing problems due to the use of the 2nd layer diffuse. The problem you're seeing is that the 2nd layer diffuse is ignoring opacity maps used by the 1st layer.
You can get around this problem two ways:
1. Change the blend mode to mask and use the opacity maps as a blend map. This is the technically correct solution, but generally means long render times.
2. Use the opacity maps as a 2nd layer diffuse strength map. If I recall correctly, there's no need to do this for the 2nd layer specular because it is aware of the opacity settings from the 1st layer. Just make sure 'Multiply Specular2 Through Opacity' is enabled. It's not technically correct, but it renders much faster and generally looks the same.
My M4 Karass on Beautiful Bends M4.
A little on the glossy side, but it worked for the subject matter.
And applying a preset and then changing texture maps does seem to solve the transparency issues I was seeing.