The devil makes work for idle hands
 kiwi_gg
Posts: 198
Just mess'in around with Bryce again. The challenge here is for you to figure out, how did I do it ? Apart from the basic default opening scene in B6.3 there is only 1 other object.
Pic 1 "Halleys Comet"
2 "End of the Tunnel"
3 "Black Hole"
4 "Ameoba"
Enjoy
Cheers
GG
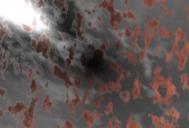

Amoeba.jpg
800 x 541 - 100K
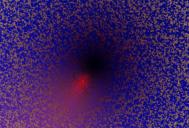

Black-Hole.jpg
800 x 541 - 268K
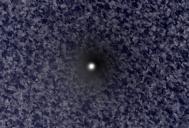

End-of-the-Tunnel-2.jpg
800 x 541 - 153K
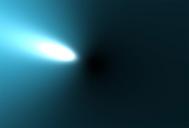

halleys-comet.jpg
800 x 541 - 30K


Comments
You're using a 180° FOV with different sun colors for the oval hotspot, looking straight up into different cloud patterns. General color washes are using the sky palette, probably the haze color.
Dark spots might be created from visible lights with negative values.
... How'd I do?
@oroborus. Warm ish, there are no visible lights with negative values.
Cheers
GG
Here's another one. Have added an xtra, just because I can.
Pic title "nanobot in your artery"
forgot to add, FOV is default 60 deg.
Cheers
GG
Are you doing some kind of zoomed-out projection, with the camera pointed (linked?) towards, whilst positioned perpendicular above, the Bryce plane?
Jay
My guess is that it is a terrain. The default sun is lighting a terrain. The terrain is a simple Blob Maker filter which creates the high point in the middle. The sun is placed at a low angle where it makes a bright spot on the left of the summit. Likely there is some amount of skylab clouds going on as well. No reason why the material for the terrain cannot be altered and made transparent so that the clouds can be seen. Am I warm?
OK, I'll have a guess.
1 - the camera is laid on its back pointing at the sky. Very wide FOV via low scale%. Around that is a elongated sphere.
2- the dark patch in the middle is due to black volume colour combined with volume blend distance effect (the sphere's material)
3 - spherical clouds have to be disabled in the sky lab > cloud cover option.
4 - here is a test render using the above settings.
And sticking with the one object in a scene "rule", here is one of Horo's and mine, the object in this case is a sphere.
Hi folks, you are all on the right path. Have to go and earn the daily bread now so I will post again later.
@David, cool pic.
Cheers
GG
Time to show.
First of all, an apology, my opening statement was a little misleading as there are no other objects used in all except the last image only the ground plane and the camera. I was at one stage using a sphere as well but found it was not needed. So sorry about that.
Moving on here's how the images were done.
Open up bryce,does'nt matter which build, I used B6.3
select the default ground plane
Change the material to the glass mat as shown in the following images
In the DTE make the changes shown.
Select the camera and in the attributes box enter the settings.(see image)
Re-select plane1 and enter the settings shown there as well.
Go" top view" and using the "zoom tool" zoom out until the ground plane and camera almost disappear.
In the sky presets choose one of the night time skies and render the image.
What I found was every time I changed the sky I got a different image.
Here's the settings.
Cheers
GG