Happy 2022. Idea for put dForce tattoo on back [tutorial] and Digipad
 function
Posts: 283
For long time, to put tattoo at back is difficult for DAZ users because the skin map connection seam, normal ways are using ZBrush or Iray Decal node or L.I.E. Now here is an idea to do it in DAZ only, use dForce primitive plane, the result is better than decal, and easier than LIE. However, this idea's problem is, every new pose may needs to be re-simulated.
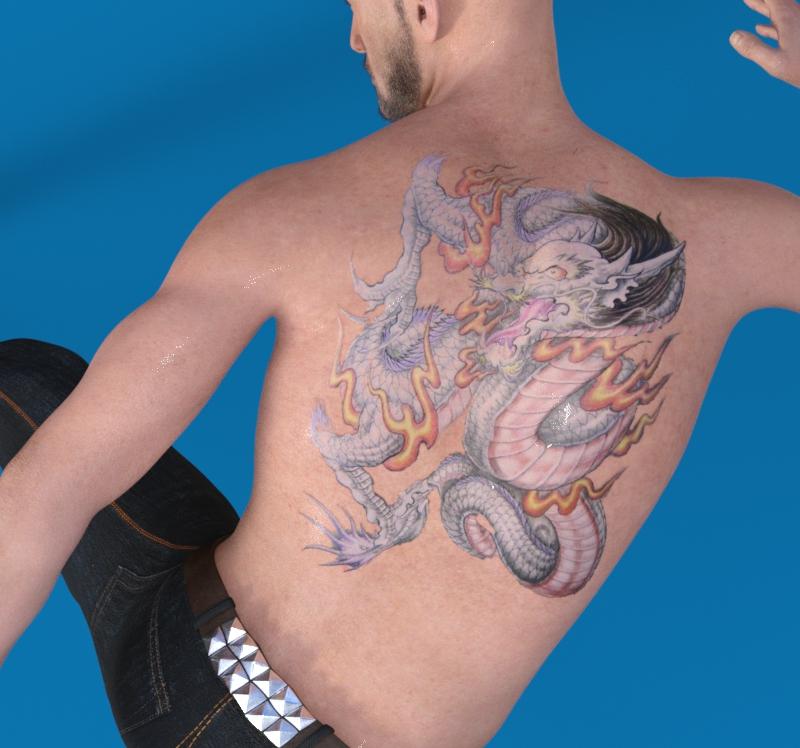
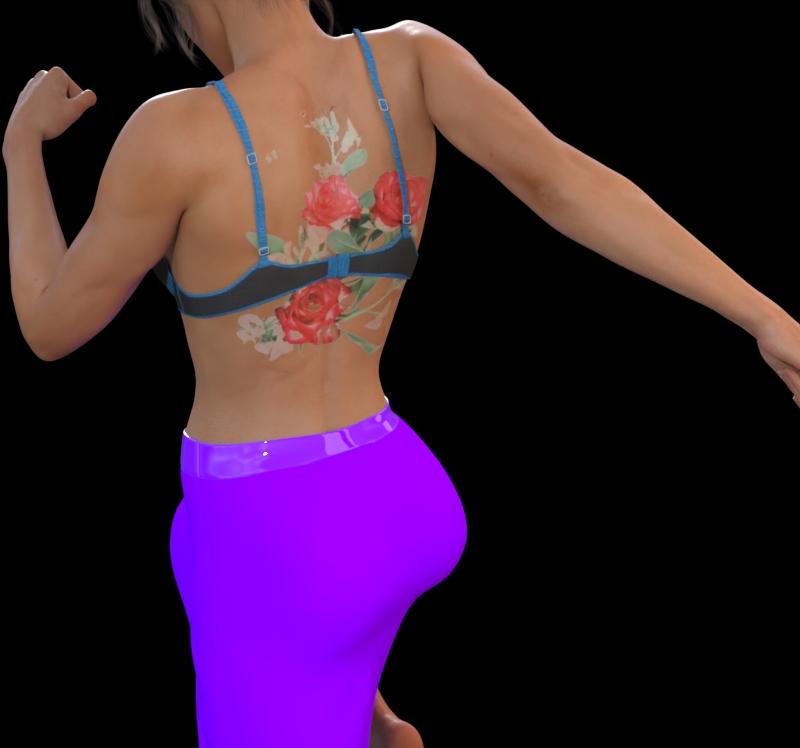
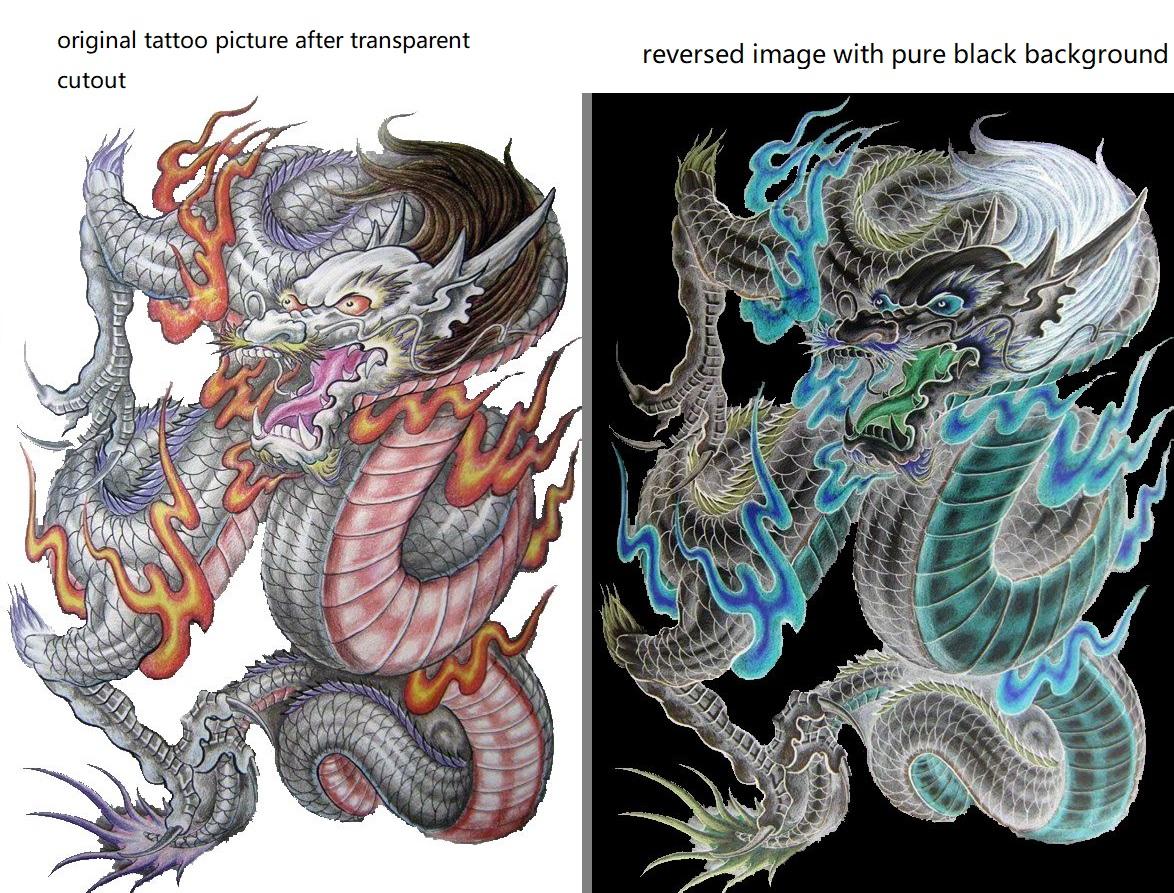
First prepare 2 png pictures, the original tattoo picture after transparent cutout, and its reversed image with pure black background.
Then follow this:
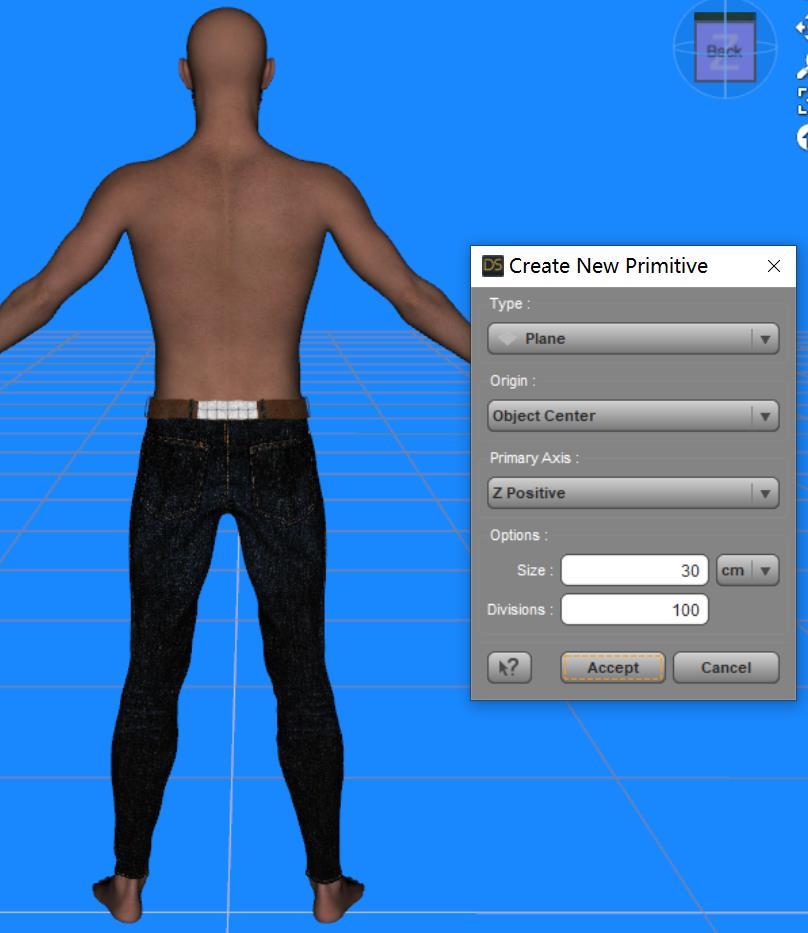
1. load a figure and create a plane, recommend 30cm and 100 divisions;
2. in surface tab, copy figure torso surface and paste to the plane, then in the plane's surface set every map drawings such like Translucency Color, Dual Lobe.., Base Bump, Normal Map, etc., to None.
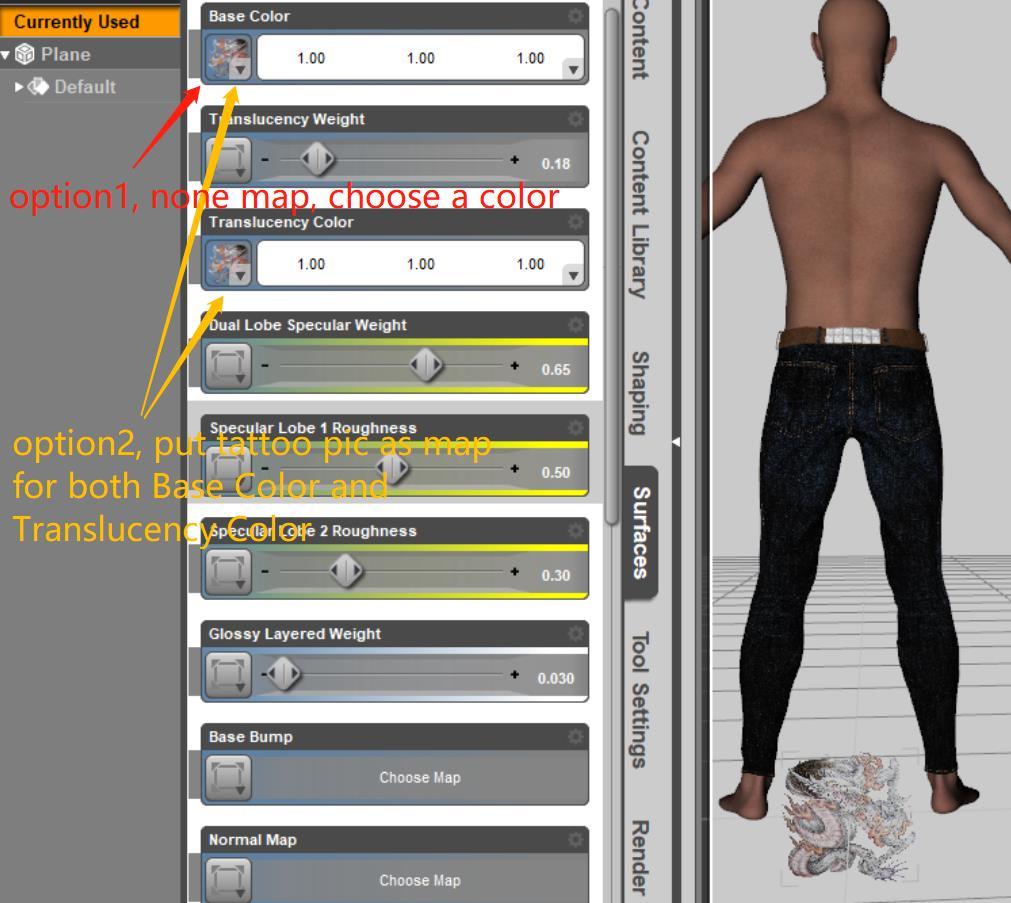
3. change the plane Cutout Opacity drawing to your tattoo's Reverse color picture, be aware the picture's black background shall be pure black. Now you have 2 options to either:
- change the plane's Base Color map to none with black or blue color,
- or apply the original tattoo picture as Base Color map, and set color to white (this is for colored tattoo).
-- optional, set Translucency Weight to 1, apply the original tattoo picture as the map for Translucency color.
-- optional, set Diffuse overlay weight to 1, apply the original tattoo picture as the map for Diffuse overlay color.
(These 2 options can let the tattoo more clear, but if you want some under skin effect, just ignore them)
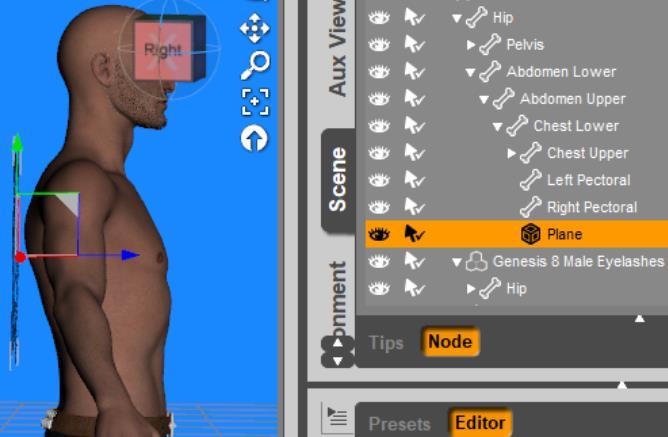
4. parent the plane to figure's Chest Lower, no need to check the 'parent in place', manully move the plane to your ideal position near the back, adjust its scale as your will.
5. recommend to add Edit-Object-Geometry-Convert to SubD to the plane, then change Parameters-Resolution Level to High, and View SubD Level to 2. Add Edit-Object-Geometry-Add Smoothing Modifier, change Smoothing Type to Generic, Smoothing Iterations to 50 till 100 (try any to see the result, but this number will extend the simulation time), Collision Item point to the Figure. The purpose for these is to avoid the tattoo not tightly pasted on the skin.
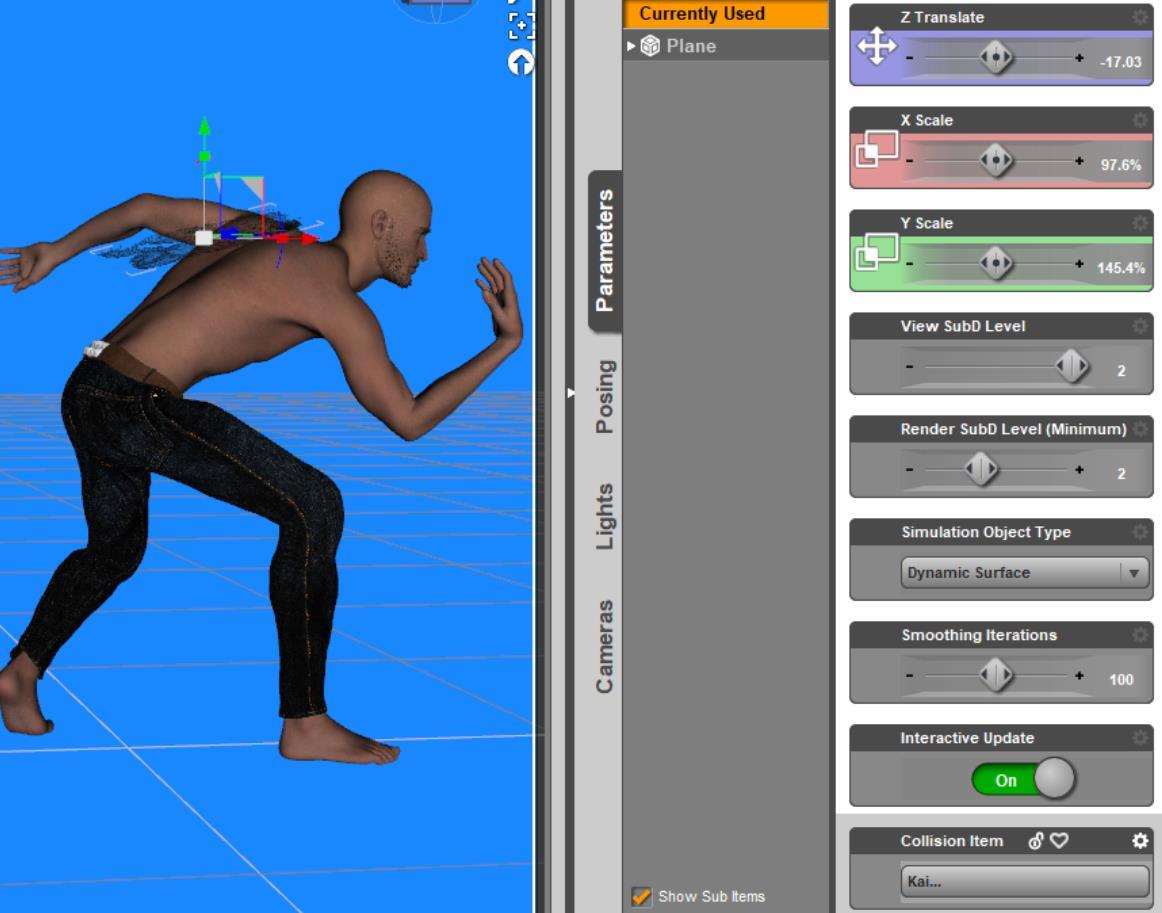
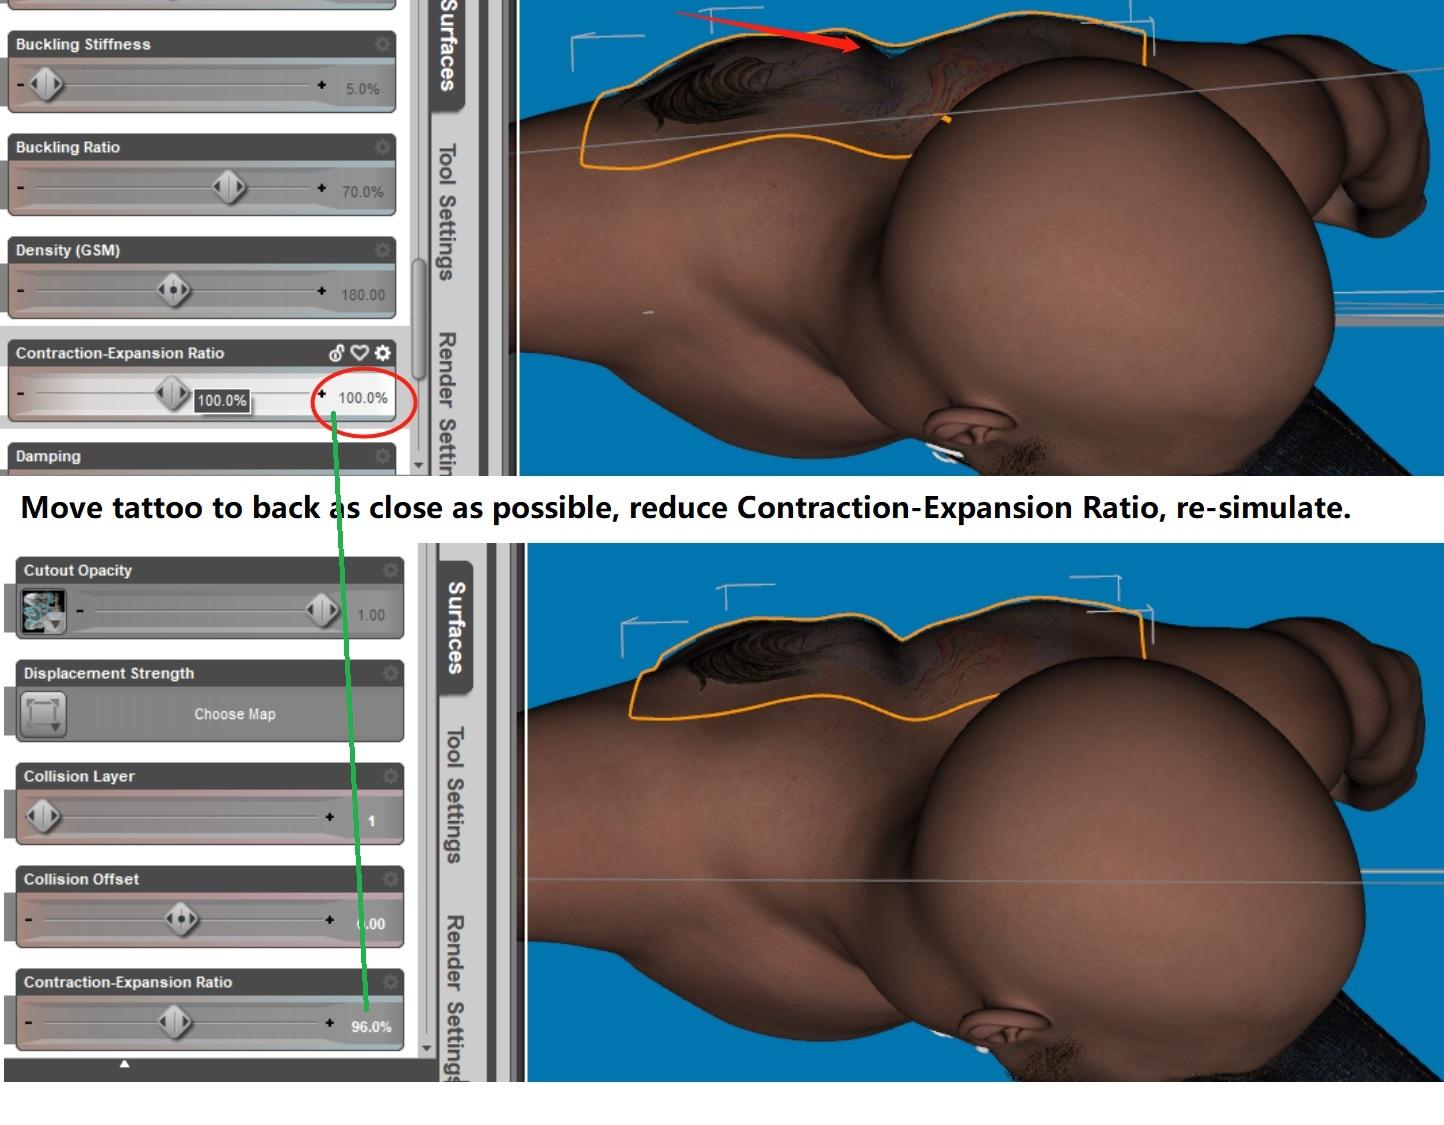
6. select plane, open Simulation Settings to add dForce Modifier:Dynamic Surface, set Gravity to 2 and Surface tab-Collision Offset to 0, (in Surface tab, optional to reduce Contraction-Expansion Ration to 98-96%), same purpose for tightly paste the tattoo.
7. give the figure a pose, because every new pose may needs to re-simulate the tattoo.
8. now your figure has a pose, and since above item 4 parent, the plane is nearly the back. Now you need to rotate the figure to let his back almost parallel to the ground (you can memorize his pose before rotation), move arm if it touched the plane, hide his hair.

9. in simulation settings, turn off the Start Bones From Memorized Pose, choose Current Frame. Now click Simulation, the tattoo will fall down to the back, tattoo is done, rotate the figure back to his pose position, cast photos as you wish. If still feel the tattoo is not tightly pasted enough, try adjust the tattoo plane's Z position a little bit (about 0.1), wait few seconds to see the result.
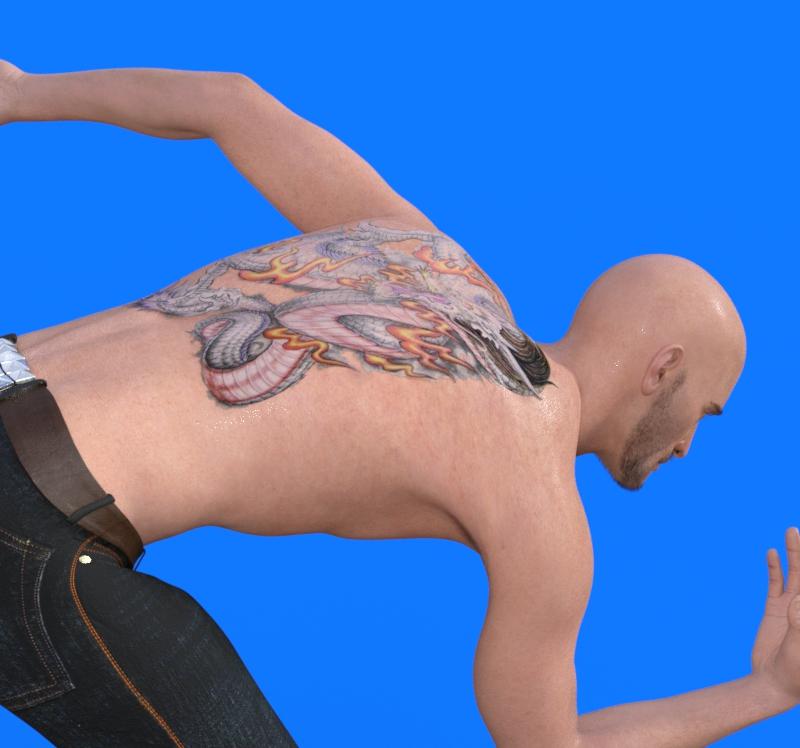
10. feel free to zero the figure pose and bring him another pose, just simply repeat item 8 and 9.
11. you can change the tattoo picture to any other picture at anytime by repeat above item3.
That's it, enjoy.
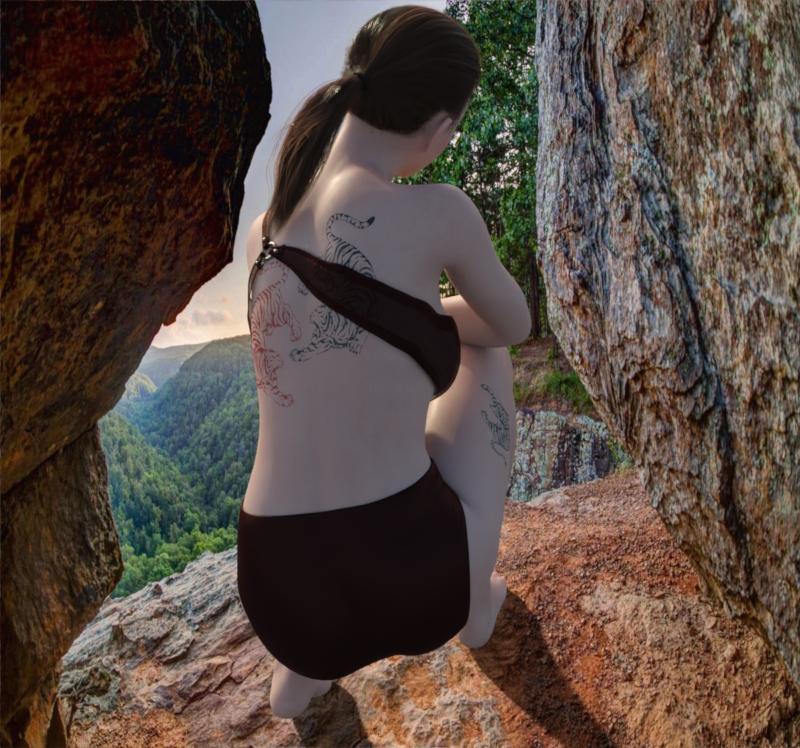
Digipad will be talked below.




Comments
Above dForce method is for the tattoo to cross the skin connection seam. If tattoo not cross the seam, there is a simple solution: Digipad. Believe it is easier than the L.I.E.
I have introduced the Digipad at Freebies Discussion, the link is:
https://www.daz3d.com/forums/discussion/540946/introduce-my-digipad-easier-than-lie
hi, thanks sO much for this wonderful solution to the back tattoo problem! extremely helpful and amazing!
