Beautiful Brows - Looking for recommended workflow for saved characters
 Olo_Ordinaire
Posts: 742
Olo_Ordinaire
Posts: 742
I've been using Beautiful Brows and really like the product, but I've found that I must be doing it wrong, as saved characters's faces always refer back to the last face texture modified by the Beautiful Brows brow removal script.
Here's what I mean: I typically create a character, apply morphs, hair, clothes then save it using "Save as Scene Subset..."
Step 1: Edie 8 with some fairly radical makeup applied, so I can illustrate the issue. Character saved with "Save as Scene Subset".
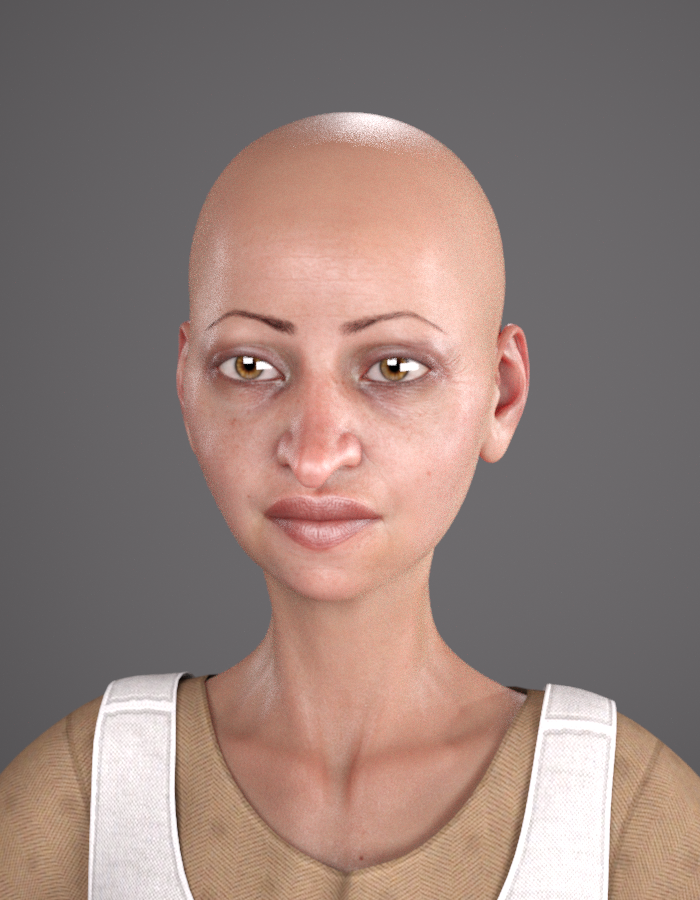
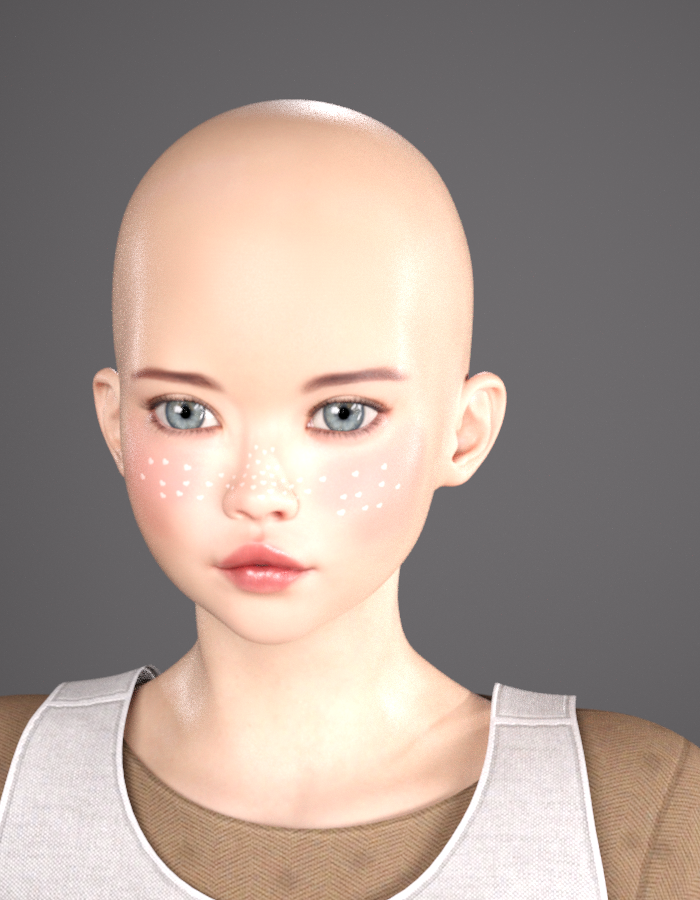
Next step: remove Edie from the scene and add Baboo, a really extreme character. I used her most extreme makeup to reveal the issue.
First Baboo image is with her standard makeup and painted brows. Second is after Beautiful Brows - remover script used and Beautiful Brows applied.

Save Baboo using Save as Scene Subset, then remove from the scene, use File -> New, then exit Daz Studio.
Step 4: Start Daz Studio and load the saved Edie 8 character. Note that she has the Baboo extreme face makeup and obviously the face does not match the torso/neck texture.

What I *think* is happening is that since Beautiful Brows brow remover only saves the modified / copied face textures to a single directory under the product directory in the DAZ library, there can only be one modified face at a time.
Saving a Material Preset with File -> Save as Material Preset... doesn't work, as it just contains references to the single face texture file under the Beautiful Brows directory.
How can I save the actual modified textures for a modified face so that multiple characters can have Beautiful Brows applied ?
There's gotta be a way!
Thanks in advance,
Olo


Daz 3D is part of 
Connect
DAZ Productions, Inc.
7533 S Center View Ct #4664
West Jordan, UT 84084
Licensing Agreement | Terms of Service | Privacy Policy | EULA
© 2025 Daz Productions Inc. All Rights Reserved.
Comments
What you can do:
Go into the Runtime:Textures:Chevybabe25: Beautiful Brows Folder
Select all the browless skin textures and copy them.
Create a new folder and name it ex(edie). Paste the copied textures into the new folder.
Make sure your character is selected and select the surfaces tab. Select the face.
Each surface that has a face map, click on it, and direct daz to your newly created folder and select the correct face map.
Then you can save it as a material preset or a scene subset etc.
Okay, so a pretty manual process is required if you're using the product with more than one character. I was afraid of that.
Well, I'll set it up and work through all the characters I've inadvertently messed up.
Thanks for the reply, chevybabe25, and thanks for the products!
You are very welcome.
I'll look into seeing if something can be done about this limitation. no promises though :)
No worries. I've thought about how I would approach it and it would require some sort of dialog box with "create new destination folder" functionality and all the ratta-fratta that goes with that. Something like Scene Optimizer does, I guess. I wouldn't blame you if you didn't want to go down that road!
Cheers,
Olo