Differences in Iray rendering - shutter/F-stop/ISO vs EV vs high luminance.
 Chezjuan
Posts: 520
Chezjuan
Posts: 520
I've been looking into the differences between tone mapping and cranking the luminance values of the scene lights and I decided to try a test of what seem to be the 3 most discussed methods: 1) high luminance with default tone mapping settings, 2) using realistic luminance levels and setting the three tone mapping settings as if in a camera, and 3) using realistic luminance levels and changing the EV number alone.
I took a basic scene (American Living and Dining with a G8M) and did renders using each of these methods. In addition to the default lights in the scene, I added 2 spotlights to light the figure. The default lights in American Living and Dining are set anywhere between 80,000 lumens (for the hanging light) to 5,000,000 lumens for the ceiling LEDs, and I initially set the spotlights at 100,000 lumens each. After the default, I lowered the spots to 5,000 lumens each (to mimic a 300 watt bulb from a photo light I have) and the ALD lights to between 2,500 and 5,000 lumens each. I set the maximum samples to 15,000 and time to about 10 hours to ensure the renders would not stop due to time.
The results are below. There are four renders because I did two different ISO settings for the "camera style" renders. No postwork.
Default settings, spotlights at 100,000 lumens each
95.03% of image converged
Received update to 05536 iterations after 4344.039s.
Total Rendering Time: 1 hours 13 minutes 14.30 seconds
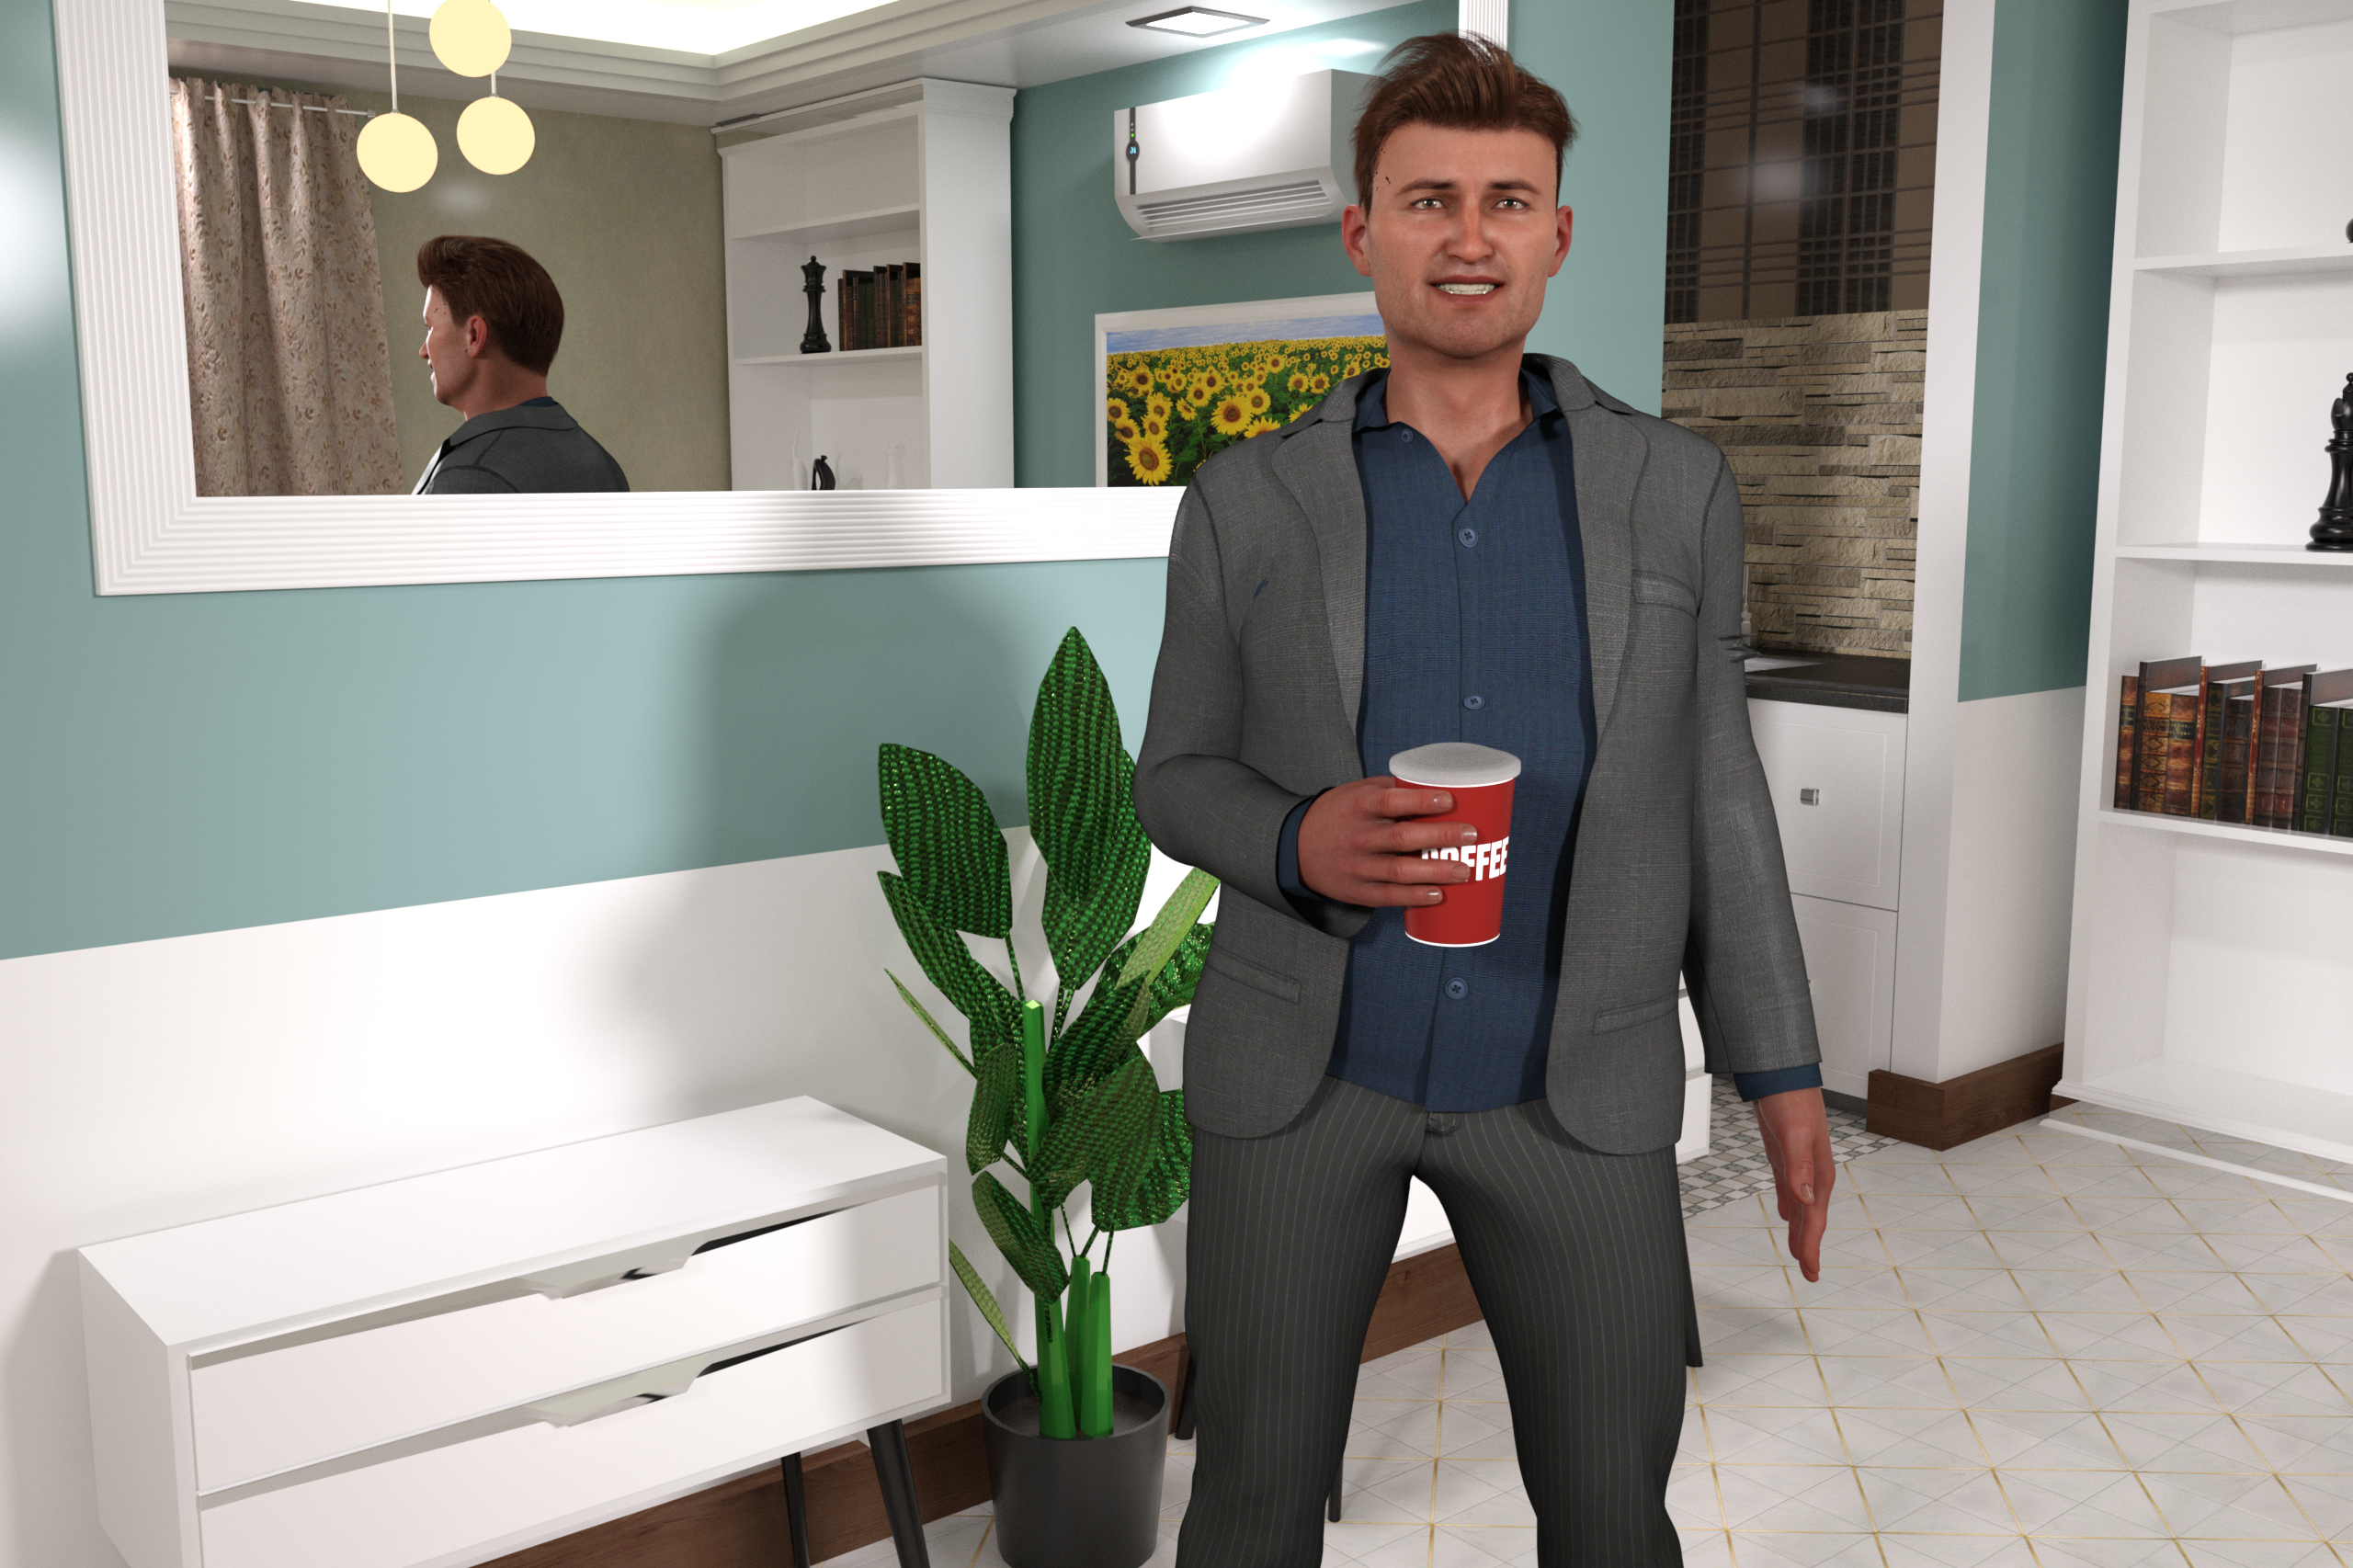
This was the quickest render. There is some severe clipping on the heat pump casing in the mirror from the LED above it, and the translucent curtains appear solid. Slight clipping in the mirror frame, but you can mostly make out the details in it. There are also some reflections of lights very evident on the kitchen walls and one in wall next to the window that appears in the reflection.
Tone mapping higher ISO
TM settings: 1/60, F2.8, ISO 200
88.18% of image converged
Received update to 15000 iterations after 11375.309s.
Total Rendering Time: 3 hours 9 minutes 40.39 seconds
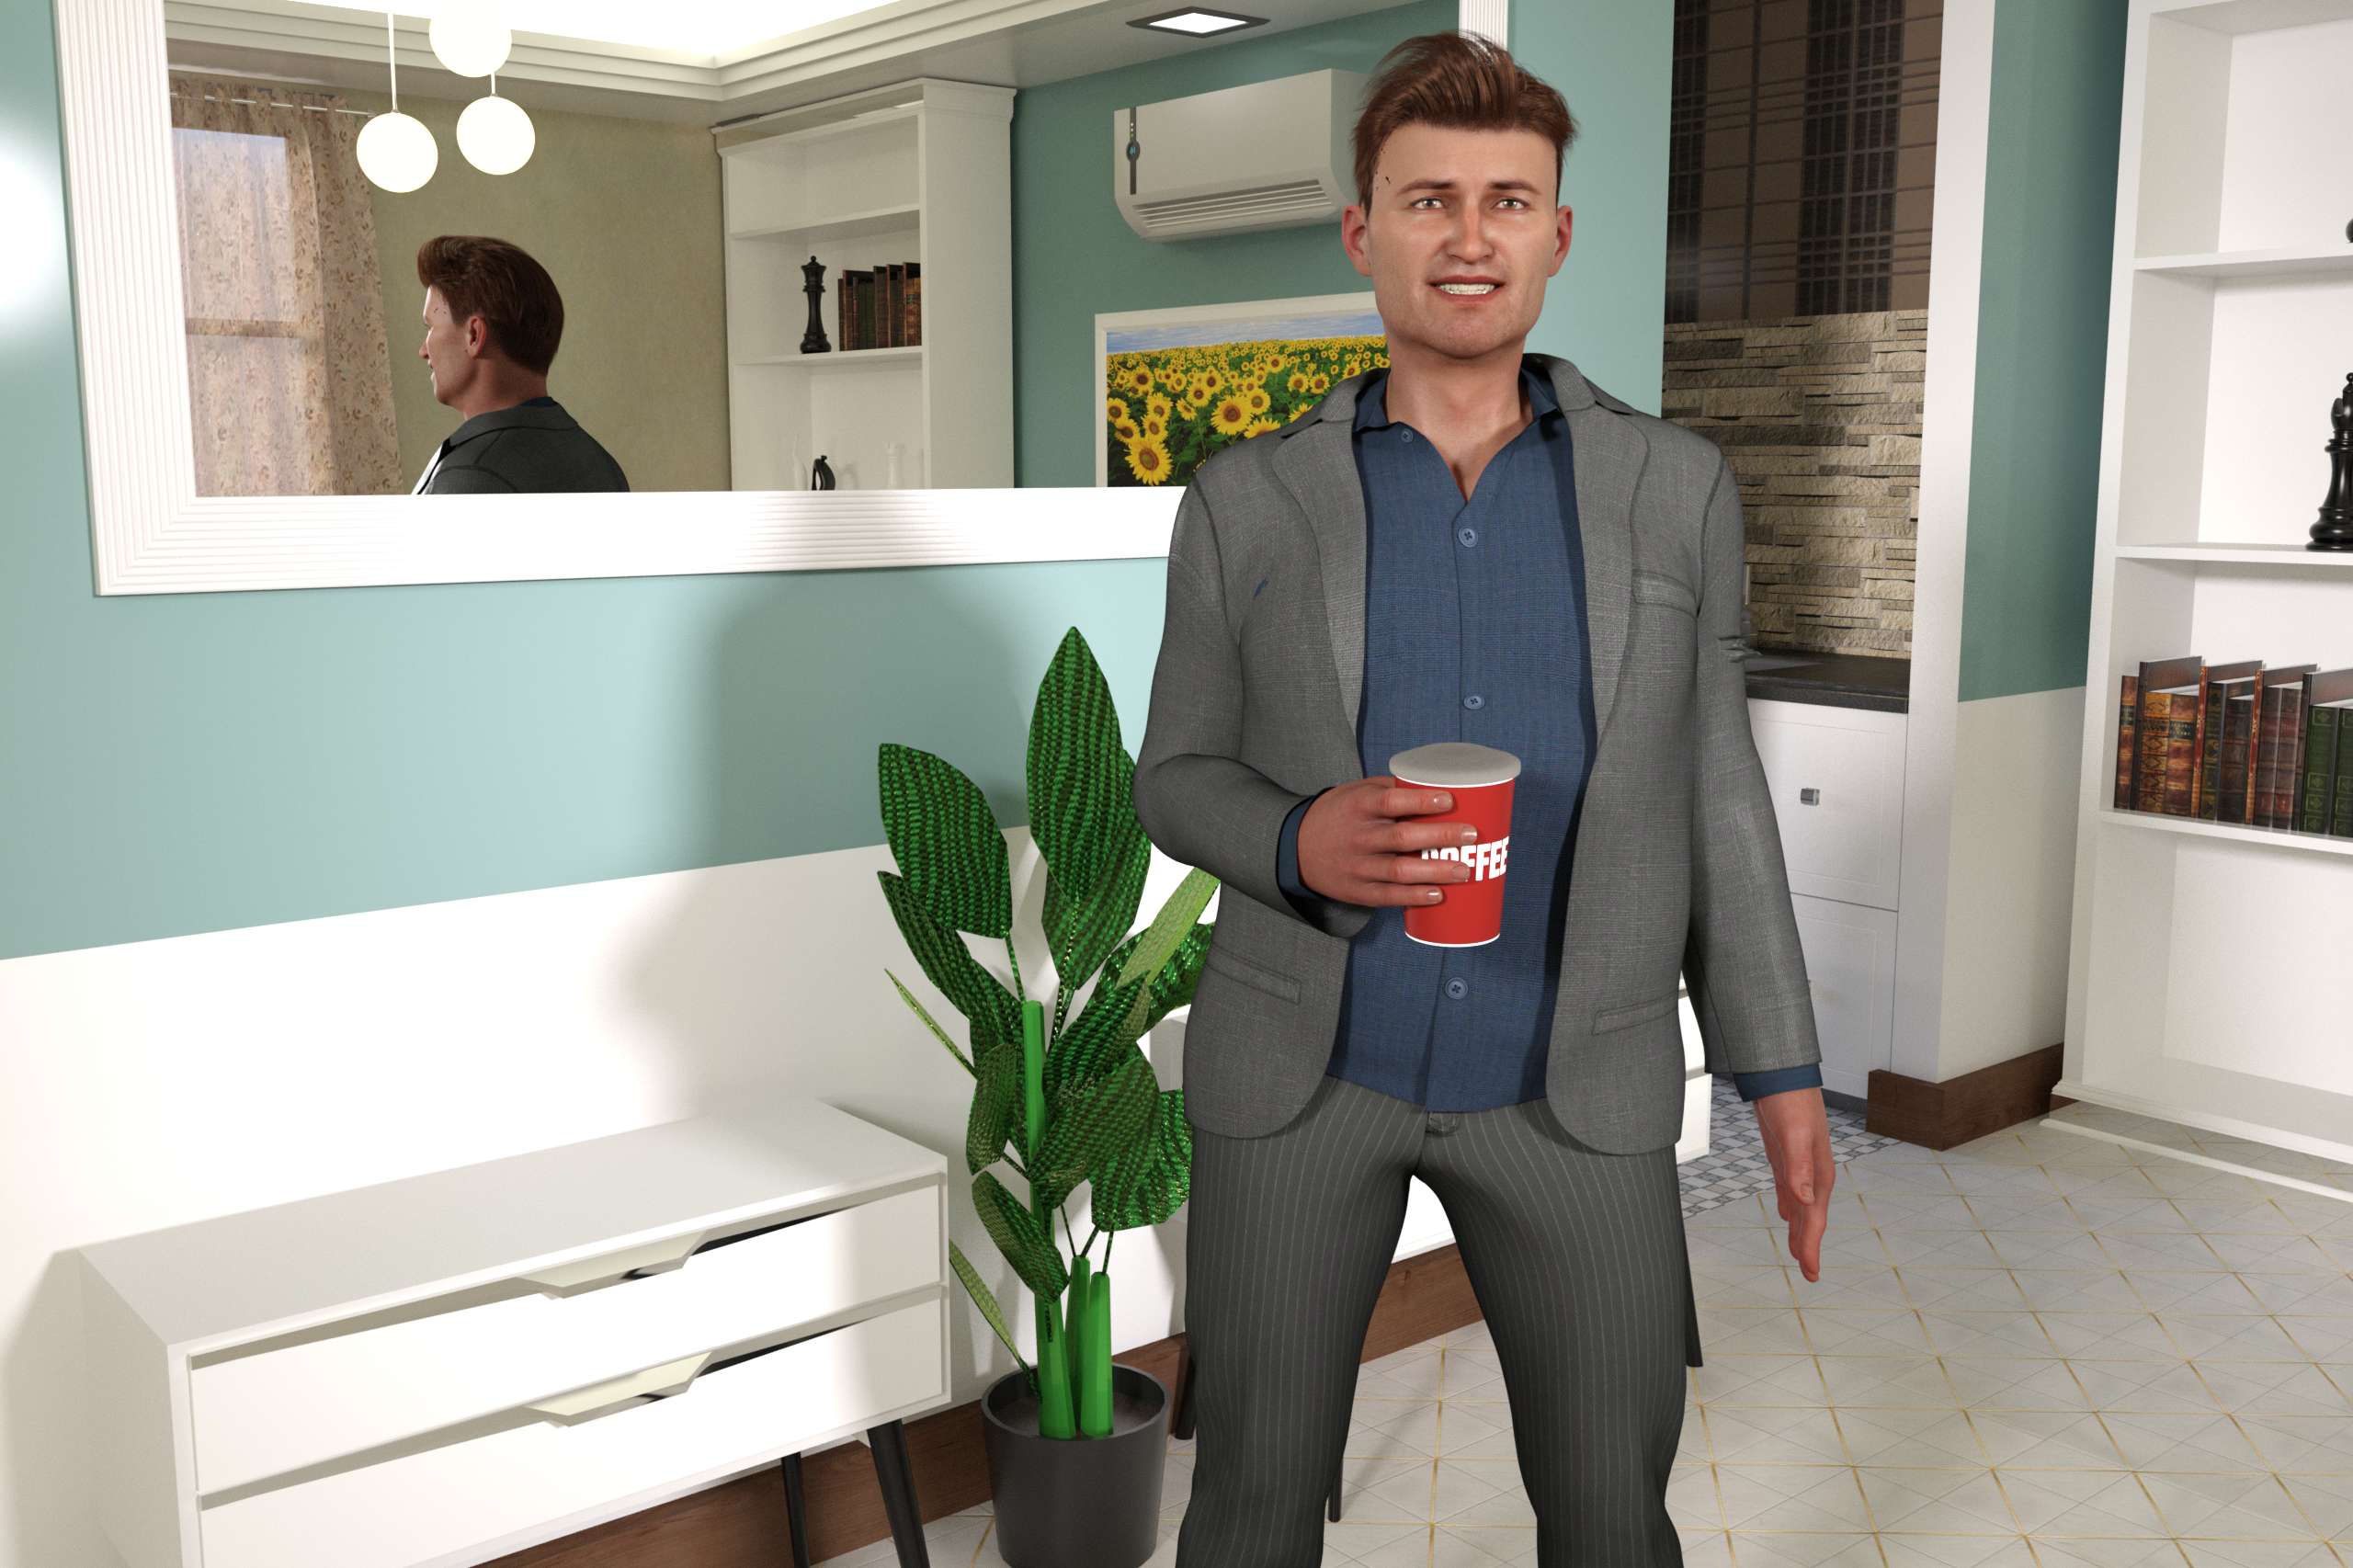
The ISO 200 image loses the clipping on the heat pump and the curtain is translucent. It does have severe clipping on the mirror frame (with lost details), hanging lights, and ceiling. I like the figure's skin tone the best. This one also did not make it to the default convergence in 15,000 samples.
Tone mapping default ISO
TM settings: 1/60, F2.8, ISO 100
94.38% of image converged
Received update to 15000 iterations after 11363.174s.
Total Rendering Time: 3 hours 9 minutes 31.64 seconds
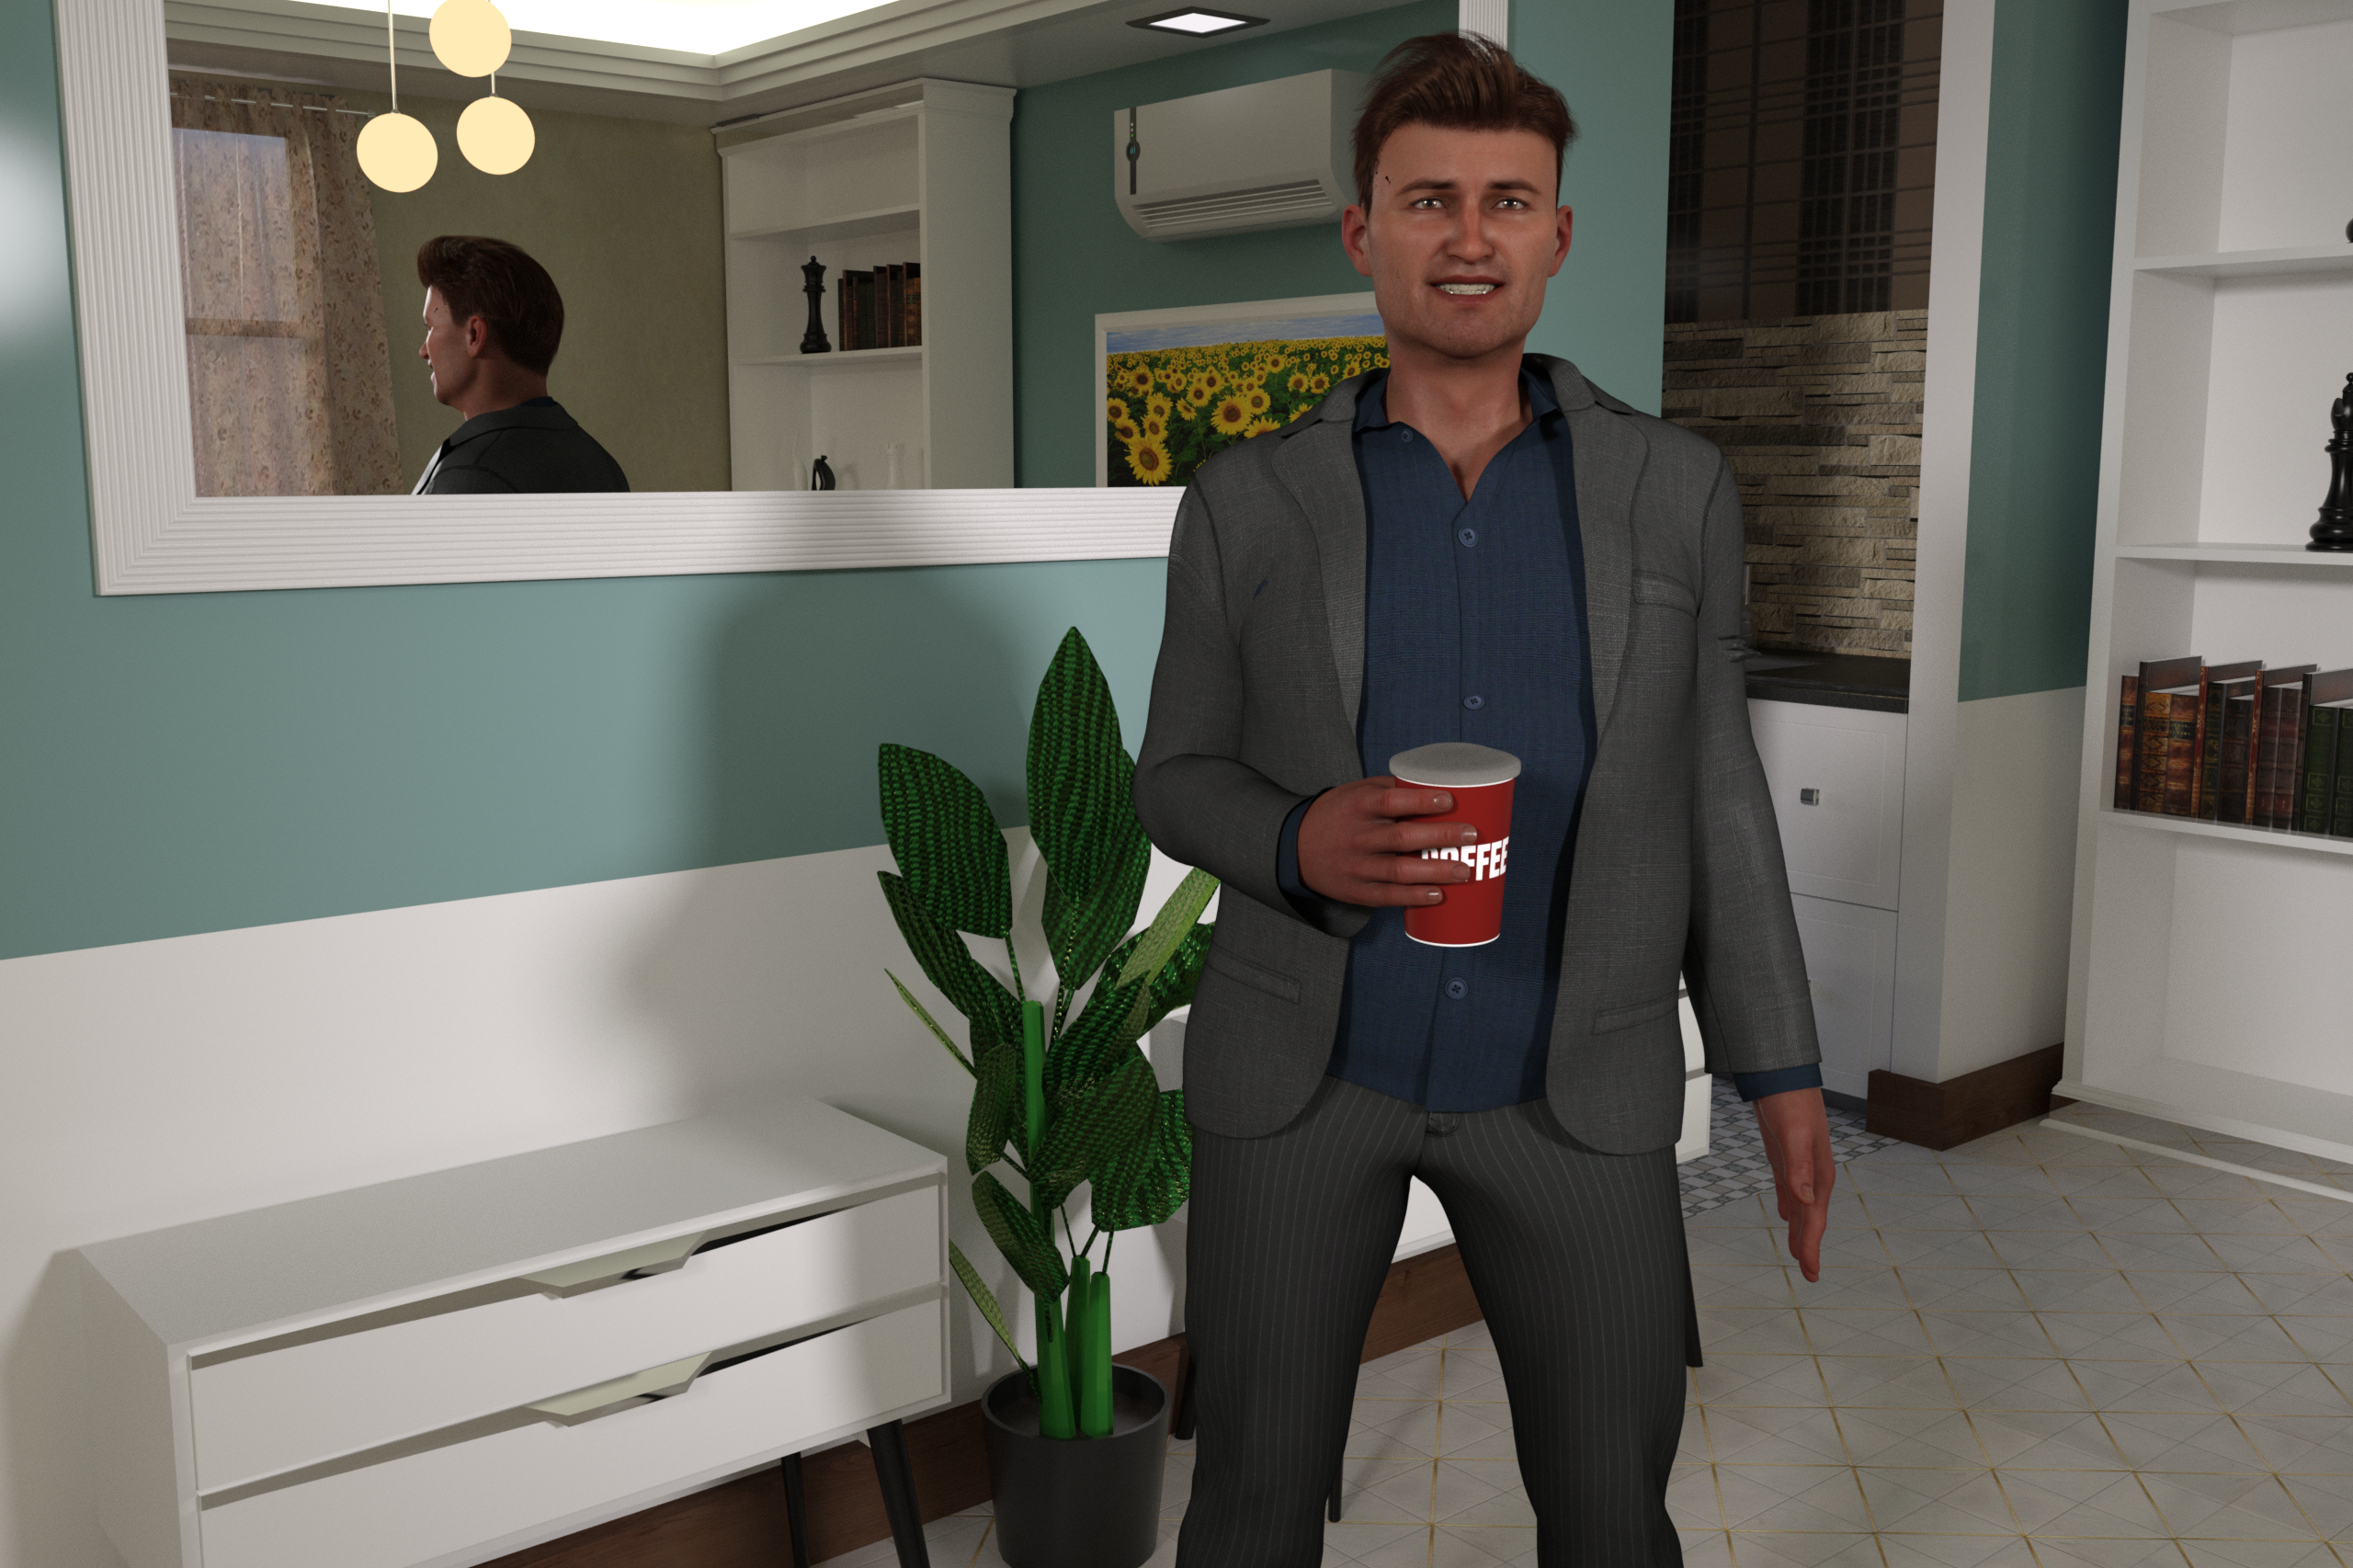
The ISO 100 image does not have any evident clipping, but is a little dim (though a quick visit to a photo editor with "auto enhance" would get this one looking decent). While it technically did not make it to the default convergence of 95%, it was pretty close.
Tone mapping EV change only
EV 9.43
1/10.78, F8, ISO 100
95.05% of image converged
Received update to 13469 iterations after 10318.146s.
Total Rendering Time: 2 hours 53 minutes 49.2 seconds\
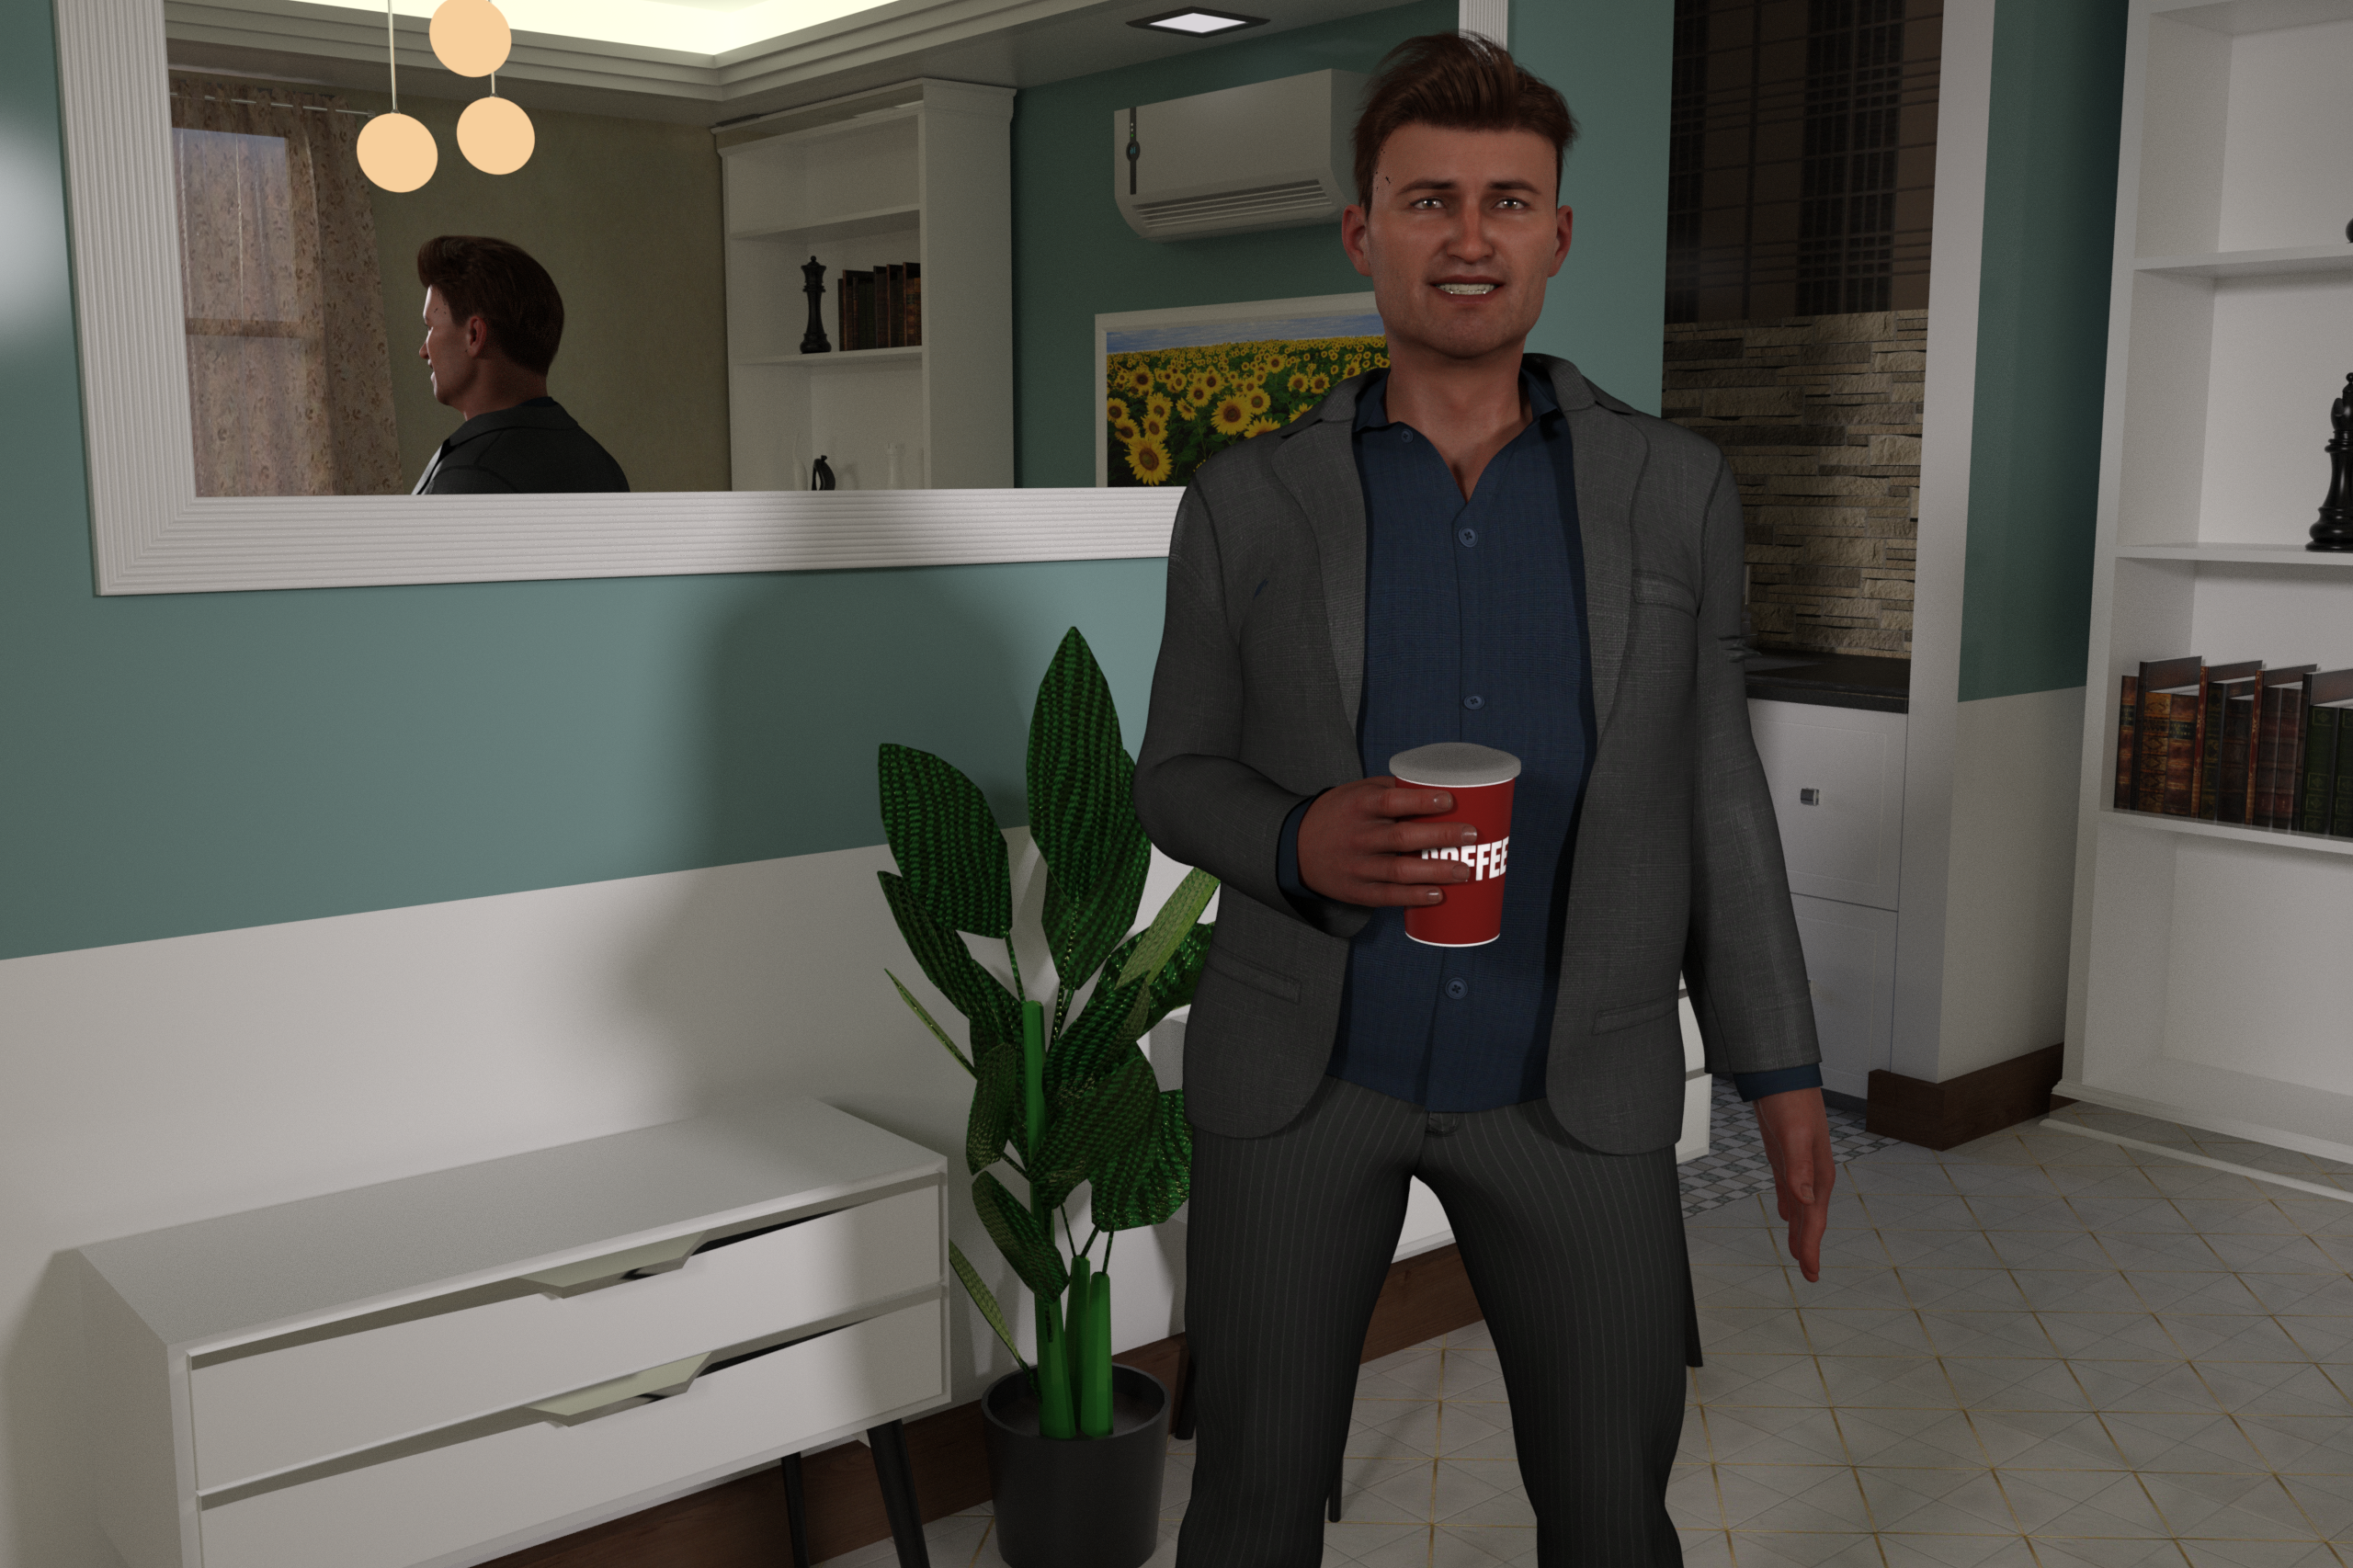
This used the EV that was calculated by the ISO 200 render. I noticed that setting just the EV only changed the shutter speed, leaving this is very dim. No clipping or reflections of lights evident. Second-fastest render speed, but only 16 minutes slower than the two other Tone Mapping renders.
The main takeaways I have from this are:
- Tone mapping can allow you to use "realistic" luminance values, which can help avoid clipping in situations where you have a light close to another scene object
- The Shutter, F-stop, and ISO settings work similar to how they do in a camera when you have realistic luminance values. They may not be exactly how you'd set a camera, but "indoor" settings in Daz Studio are close to indor settings on a camera.
- Changing tone mapping to get good indoor renders with realistic luminance settings extends the render time and iterations (almost 3X in the scene I used)
All said, I see a use for all three methods. If I was using this scene but would not have the curtains nor the heat pump in camera view (or other object that would act weird with the high luminance), I might use the default settings for a faster render. If, like in this situation, something looks way off because of the high luminance, I'd lower those values then play with the tone mapping. Of coruse, there are combinations depending on the scene, such as lowering the luminance of the offending light source (as long as it's secondary) and then rendering without tone mapping, etc.
I'd love to hear your thoughts about the above, or if you've had other experiences with the tone mapping settings.
Daz 3D is part of 
Connect
DAZ Productions, Inc.
7533 S Center View Ct #4664
West Jordan, UT 84084
Licensing Agreement | Terms of Service | Privacy Policy | EULA
© 2025 Daz Productions Inc. All Rights Reserved.
Comments
For indoor renders I'm a big fan of setting the EV to 1 and then working with 'real world' values for the lights. Bedside table lamp? 40W. Chandelier with 8 bulbs in it? 480W. Candle? 13 lumens. Use whatever you would in the real world. It can be time consuming depending on the number of lights in a set but if you're familiar with photography then you also know the value of the additional lights (such as softboxes) you would use for a shoot as well.
The only value that becomes a bit odd is the Environment Intensity. Because you've taken the EV down by 12, you have to cut the intensity in half 12 times... 1, 0.5, 0.25, 0.125 etc. This comes out at roughly 0.0003, give or take. Plug that value in and you now have outside lighting that isn't blown out and solid white through windows.
The only odd thing that initially stumped me using Tone Mapping is the inclusion of two F-Stop settings - one in the Mapping itself and the other attached to a camera. Took me a while to figure Studio splits up the depth of field and aperture light setting into two discrete sliders. It would be quite handy if you could do that on a real camera!
Really what would help is if Daz opened up the photometric settings on the default lights so you can change the luminance units, the same as you can with emissive surfaces. Since it is much easier to change units from the candela per meter squared that DS uses as a default to lumens and 1500 lumens is vastly different than 1500 candela (In fact just by changing an emissive surface to Lumens makes a huge difference in the scene. it goes from barely being lit at 1500 luminosity using cd/M^2 to being rather bright at 1500 luminosity using Lumens (lm). I was surprised by the difference. And then saddened when I looked and you can't change the luminance units on the default lights.
It doesn't seem that you are scaling the lighting in the same proportions as you are scalling the Tonemapping. With that said I think there is a lot of good information here, especially for newer users that maybe don't have a good handle on lighting and tomemapping yet.
Personally, I like to scale both the lighting and tonemapping up incrementally until I get things as bright as I want. Also I never use spotlights or ghost lights, just the lights in the environment, because I want the shadows to look like they belong.