OBJ .CLOTHES ERROR G8 AND G8.1
Hello, good day, could someone tell me what I am doing wrong or how I can solve this error. Leave screenshots of the steps, excuse my English, I am Argentine. Please, if someone could guide me, what am I doing wrong? It seems that the clothes stick to the bones of the arms and I don't know how to remove the rigging so that it goes back to its place.
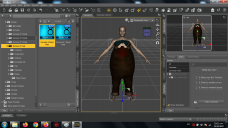

paso 2.png
1366 x 768 - 337K
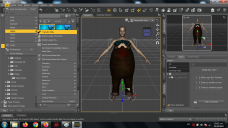

paso 3.png
1366 x 768 - 328K
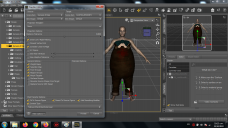

paso 4.png
1366 x 768 - 347K
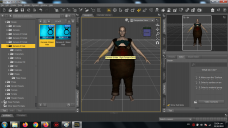

paso 5.png
1366 x 768 - 329K
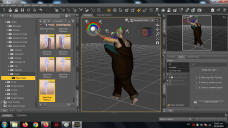

paso 6.png
1366 x 768 - 392K
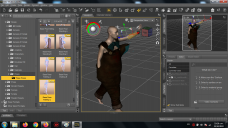

paso 7.png
1366 x 768 - 417K
Post edited by Richard Haseltine on


Comments
I had to remove the first screen shot as it showed the nude figure, but it is not important as the issue does not lie there.
The problem is that the Transfer Utility assigns influence in the fitted item (your outfit) by the nearest point on the base figure. With the very baggy outfit the arms are closer than the hip, so the arms affect the edges of the suit. You can fix this by using the Node Weightmap Brush tool to give those areas weight for the torson bones that should be affecting it. However, that is going to be a very difficult moidel to rig well - quite aside from the issue with the arms, if you bend the figure at the waist or lift the legs there is going to be very marked crumpling. More weight editing may help, but you will almost certainly need to add a lot of morphs to adjust the shape and link them to the various bends. If you are new to rigging clothes I don't think this is a sensible first project.
first thank you for answering me!! I understand that it is complex for a beginner but I do not limit myself to learning to do it. I think that from what you told me it would be to edit the morphology of the genesis 8 so that the suit fits with the pelvis and torso so that the arms are not stuck. and I can ask you if there is a tutorial for the Node Weightmap Brush tool I don't know where that option is in daz. Thanks for the help
No, you don't want to chnage the base figure - just adjust the weights once the Transfer Utility has created its broad-brush set-up.
The Node Weightmap brush is in the Tools menu, you would also need the Tool settings pane which has tool-specific options (in this case you need to select which map to edit - edit those that the cloth should move with, and it will remove the effect on the arms as you paint in the ffect on the torso and leg bones).
Thanks for answering me again, but I don't understand how to do those steps. Wouldn't you have an example or a screenshot to share and thus solve my problem? Thank you
I googled Daz Studio weight painting, and found this, which I think explains it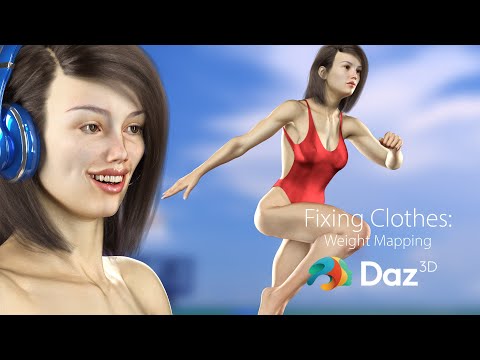
Although, I think he skipped one step, and that is to open tool settings and click on general weights.
There might be other tutorials out there explaining it.