Getting Photorealistic Results?
 AnnikasArt
Posts: 48
AnnikasArt
Posts: 48
Most of my time using Daz I haven't cared even a little bit aout photorealism. I started when I got the full A3 on 3DWorld disc and always loved toony stuff. I watched others try to get photorealistic results and wondered why they would embark on such a fool's errand. However, now seeing all these AI generated images that are getting legit photorealistic results (I know, not all of them but they are apperaing more and more), I've been looking at my own renders differently. So then...
What is the best approach with what's available in Daz? I'm sure lighting plays a big part, probably surface settings too, but I'm completely lost. Can it be done with Iray? Do I need to use Octane? Please don't tell me to export to another program, I can barely understand Daz anymore. Suggest products that work with Daz and techniques I might try to achieve better results.
Daz 3D is part of 
Connect
DAZ Productions, Inc.
7533 S Center View Ct #4664
West Jordan, UT 84084
Licensing Agreement | Terms of Service | Privacy Policy | EULA
© 2025 Daz Productions Inc. All Rights Reserved.
Comments
The simplest advice is to go look for information on real world lighting of scenes and portraits. A lot of that will apply, and most of the problems people run into with good renders is lighting.
yes it can be done in iray or octane, but there is no majic solution, you need to put the effort in with lighting, materials, scene setup, etc. The big problem is you mention seeing what the AI options are producing and that is a very different thing since that is all postwork processed and not a render. You basically have two mindsets and workflows, pure render where you set up everything in DS and let the rendering do the work, or you render a basic image and then take it into an image editor and create a digital image (postwork) based off the render, both of which take time and talent.
You weren't specific about what types of images you're interested in; so, here's a broad list---all Iray. If you pick one item from each line and turn off the headlamp on the default camera, you'll get decent results. I would suggest investing in at least one camera kit from the IG Photographer's Toolbox so you will have cameras that behave like irl. Rim Light Rig 2 for back lighting, and you can learn about other lighting as you go, but the HDRs below will get you started well. Caveat: My goal is not to trick people into thinking the render is a photograph, but only to achieve a realism that suits my subjective ideas and create an image that catches and holds the eye.
Click N' Render IBL Set (HDR), Pop Edition, OR if you want skies UltraHD HDRI sets or sets by Aako that include HDRs.
Victoria 9, Babina 8, Kala 8, Nix 8, Zale 8.1, Kwan 8, bluejaunte (better for solo non-CUs)
OOT Hair
Luthbel, Linday, and/or Mada clothing
Any place by Stonemason, Polish, FWDesign, Digitallab3d, or PrefoX, to name the first few that spring to mind. Older pre-Iray sets by Stonemason must be converted to Iray by expanding and selecting all of the set's elements in the Scene tab, then expanding and selecting/highlighting all of those in the Surfaces tab, then going to Uber Iray (found in Smart Content under Ready to Render / Default / Shaders).
I use real photographs and Photoshop renders into them. I have images of live models I've worked with and will put their heads onto figures. Even when I produce a full render, I will post-process in Photoshop. I suppose I could get good results if I were to become more proficient with Daz Studio but the store only covers a handful of genres so I have to work with photographs per my needs. What I do is not feasible for 99% of the people here because of the software and learning curve required. But it is another way to achieve realistic results.
HDRI Environment lights are giving good results. Single light sources as well.
I'd say, the more light sources you are using the less realistic the results will be. Might be some in accurancies in lights and shaders that summerize flaws.
Just my guess, based on experiencies.
There is a thread here which may be useful? https://www.daz3d.com/forums/discussion/313401/iray-photorealism#latest
That is a really good thread and certainly worth checking out, jeff_someone's stuff is amazing. The problem with photorealism is there are different kinds. What you see on the cover of a magazine may be classified as photorealistic but differs greatly from a photo you have made with your phone, and getting similar results will also require two different set-ups in Daz. It's hard to give you an answer without an example. What you could try is going through the gallery and ask the one who made the image how they made it. There are plenty of people willing to share in the gallery.
Minimum requirements IMHO are:
Now I'm not saying this will automatically get you to photorealism, but it helped me to get as close as i could get to someting that could be classified as such:
There are folks out there that got better results than I did, but I haven't uncovered their secrets yet.
Don't just consume characters from the store. Get active by mixing the best. Combine shaders with other vendors' textures. Mix morphs. Never stay with one Vendor's character at 100%.
Just play with possibilities.
I find that I get the most realistic results with good HDRI lighting. Lots of folks tend to overthink lighting and that's when things start to look flat. (I highly recommend checking out Poly Haven for top-quality free HDRI's...but you need to know what to do with the files in terms of loading them into the Environment tab)(I also buy all of KindredArt's HDRI packs...those I use for more artistic pieces, but I love them equally as much as Poly Haven). Also...postwork. Postwork doesn't necessarily mean completely reworking the image or overpainting...it can be as little as some color/contrast tweaks and adding a smidge of chromatic aberration. And believe me, chromatic aberration does wonders to add to that "real" look. Photographers spend so much time trying to minimize it...but when it comes to renders, adding it can help. Not enough to be overtly out front and center...but enough to feel like something is missing if it's not there.
But it's also not just lighting. Clothing has a lot to do with it. A lot of the clothing in the store just...doesn't cut the mustard...no matter how nice the character is. Fabrics need fuzz. Jewelry needs to actually sit on the skin properly. Muffins need to top. I probably spend more time tweaking details like that than I do actually setting up a piece with lighting, etc. Also peach fuzz.
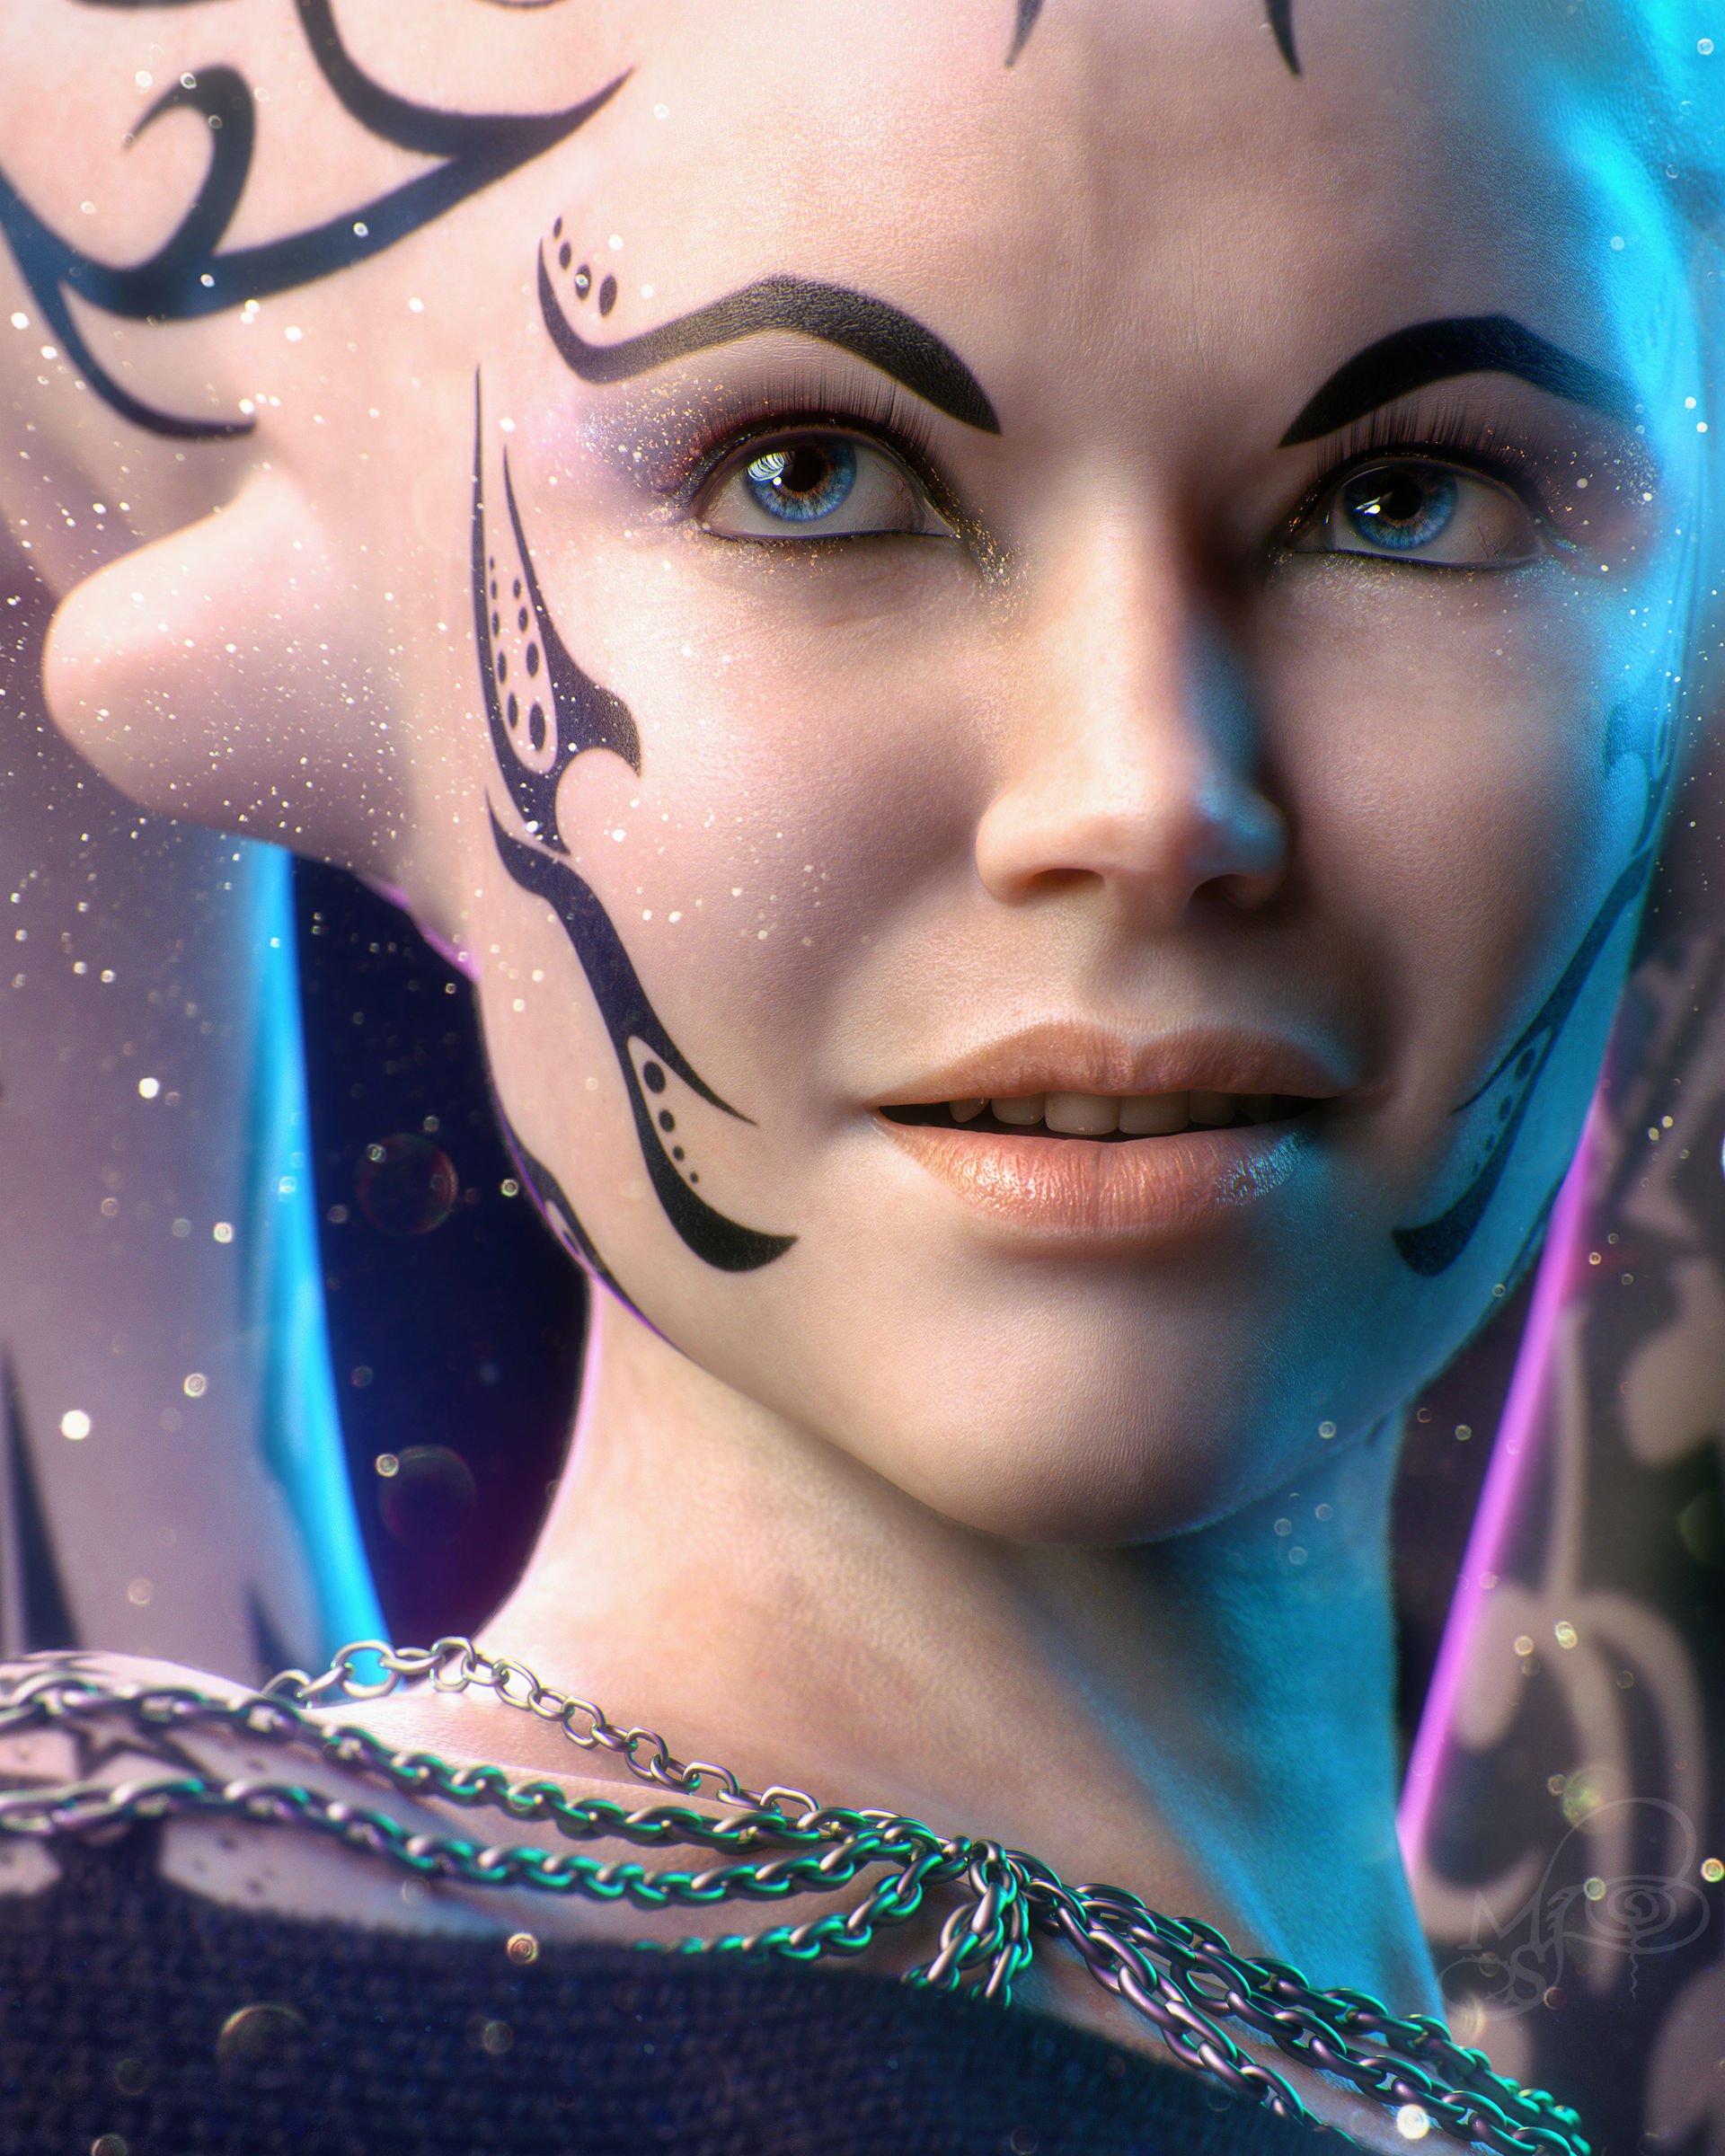
Example...the chain here took a lot of tweaking with mesh grabber to lay properly and it took work finding the right shader for that sweater with fuzz (and don't let anybody tell you they needs the 8k texture maps for closeups because this character is obviously a sci-fi character with massively tweaked skin...but it's G8 skin (a lot of Babina 8 if I remember right).
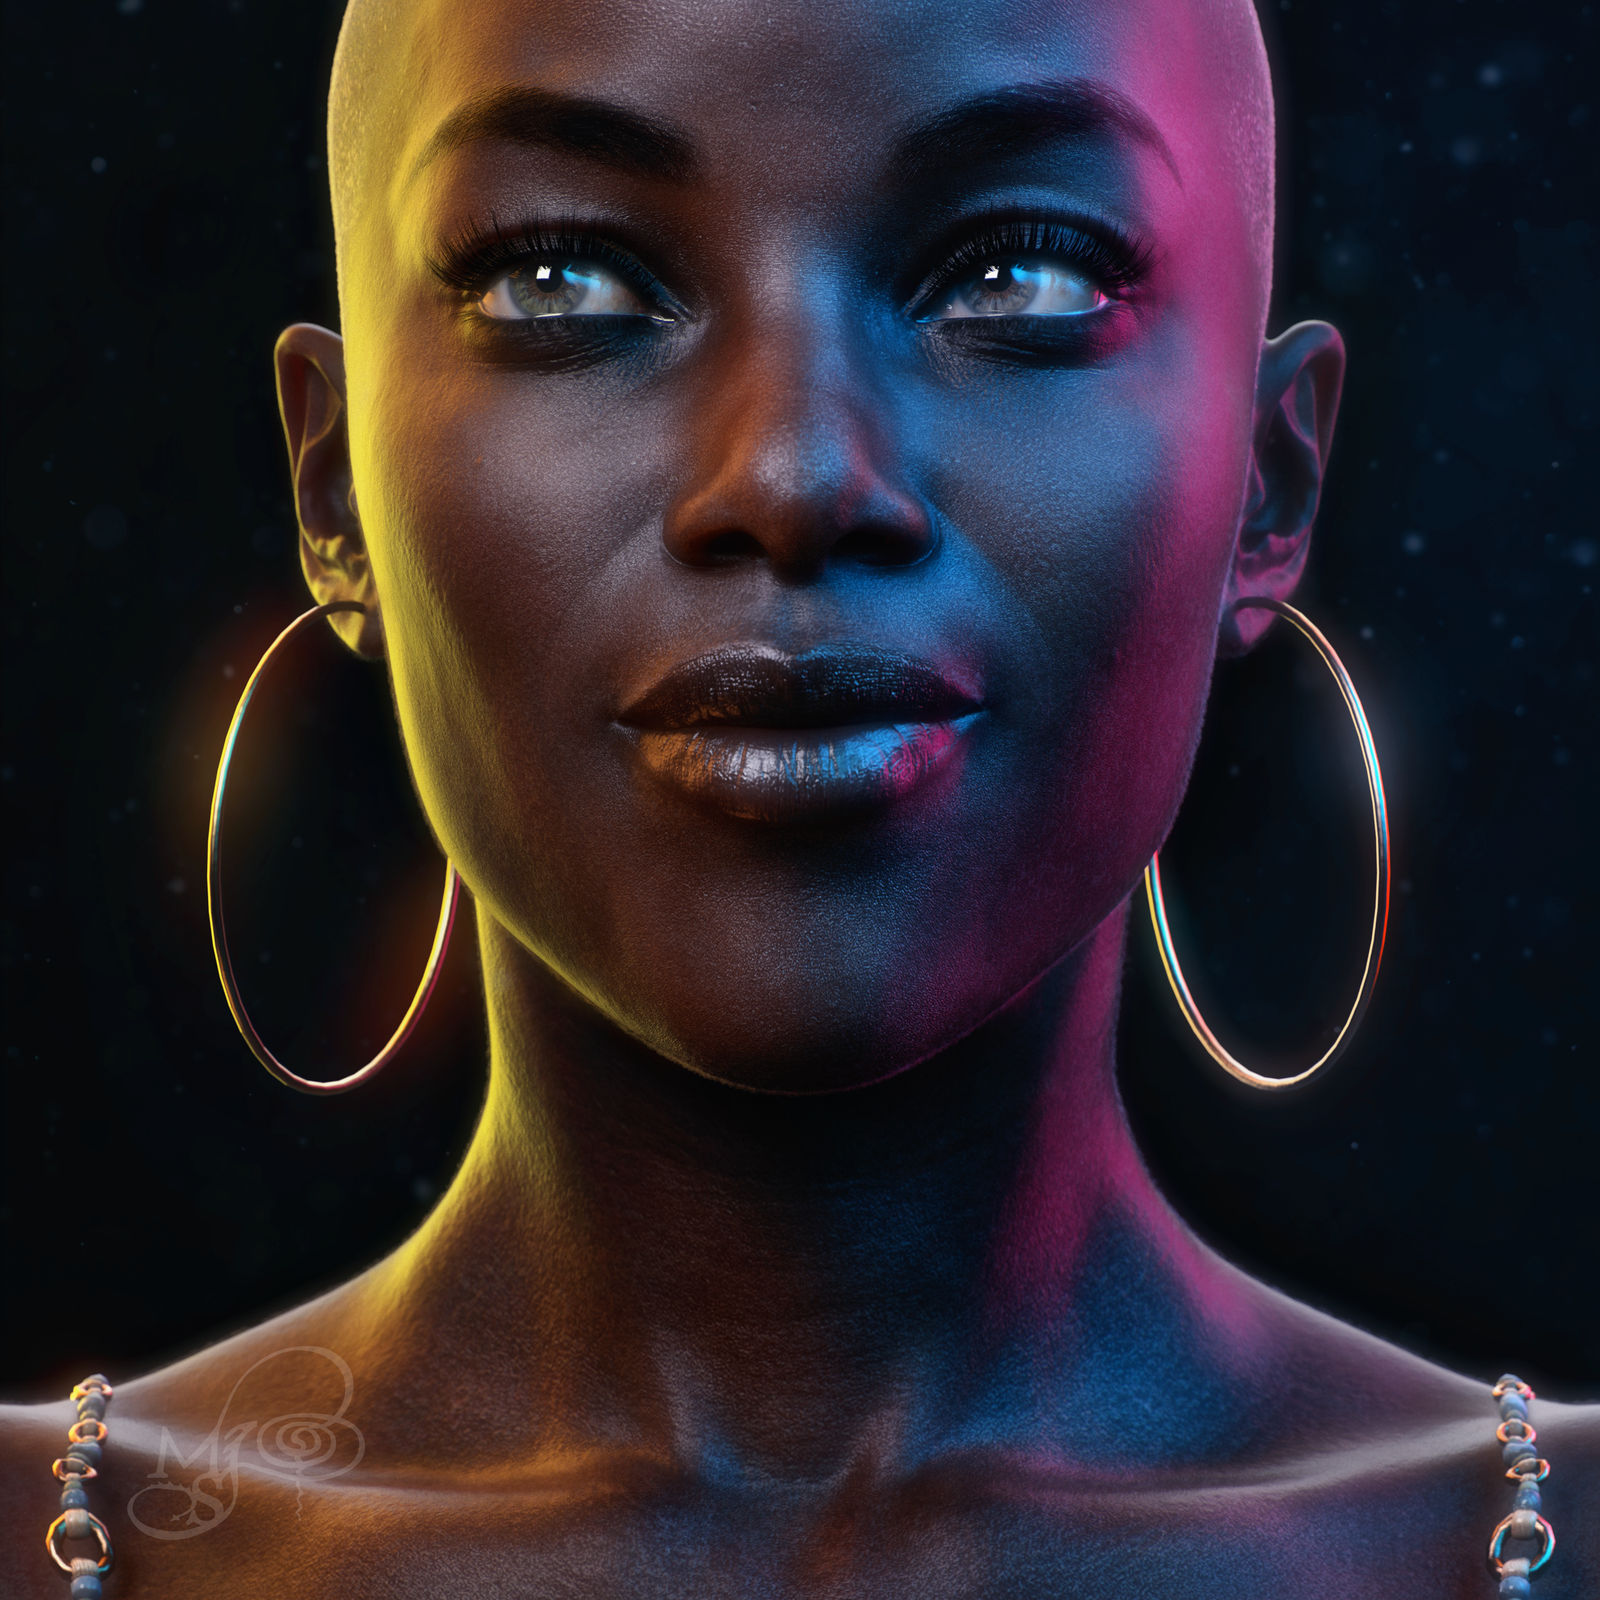
Here's another closeup on a G8 skin...this one is tweaked Celani 8 (also super simple lighting...just an HRDI with a single spot and hair light) -
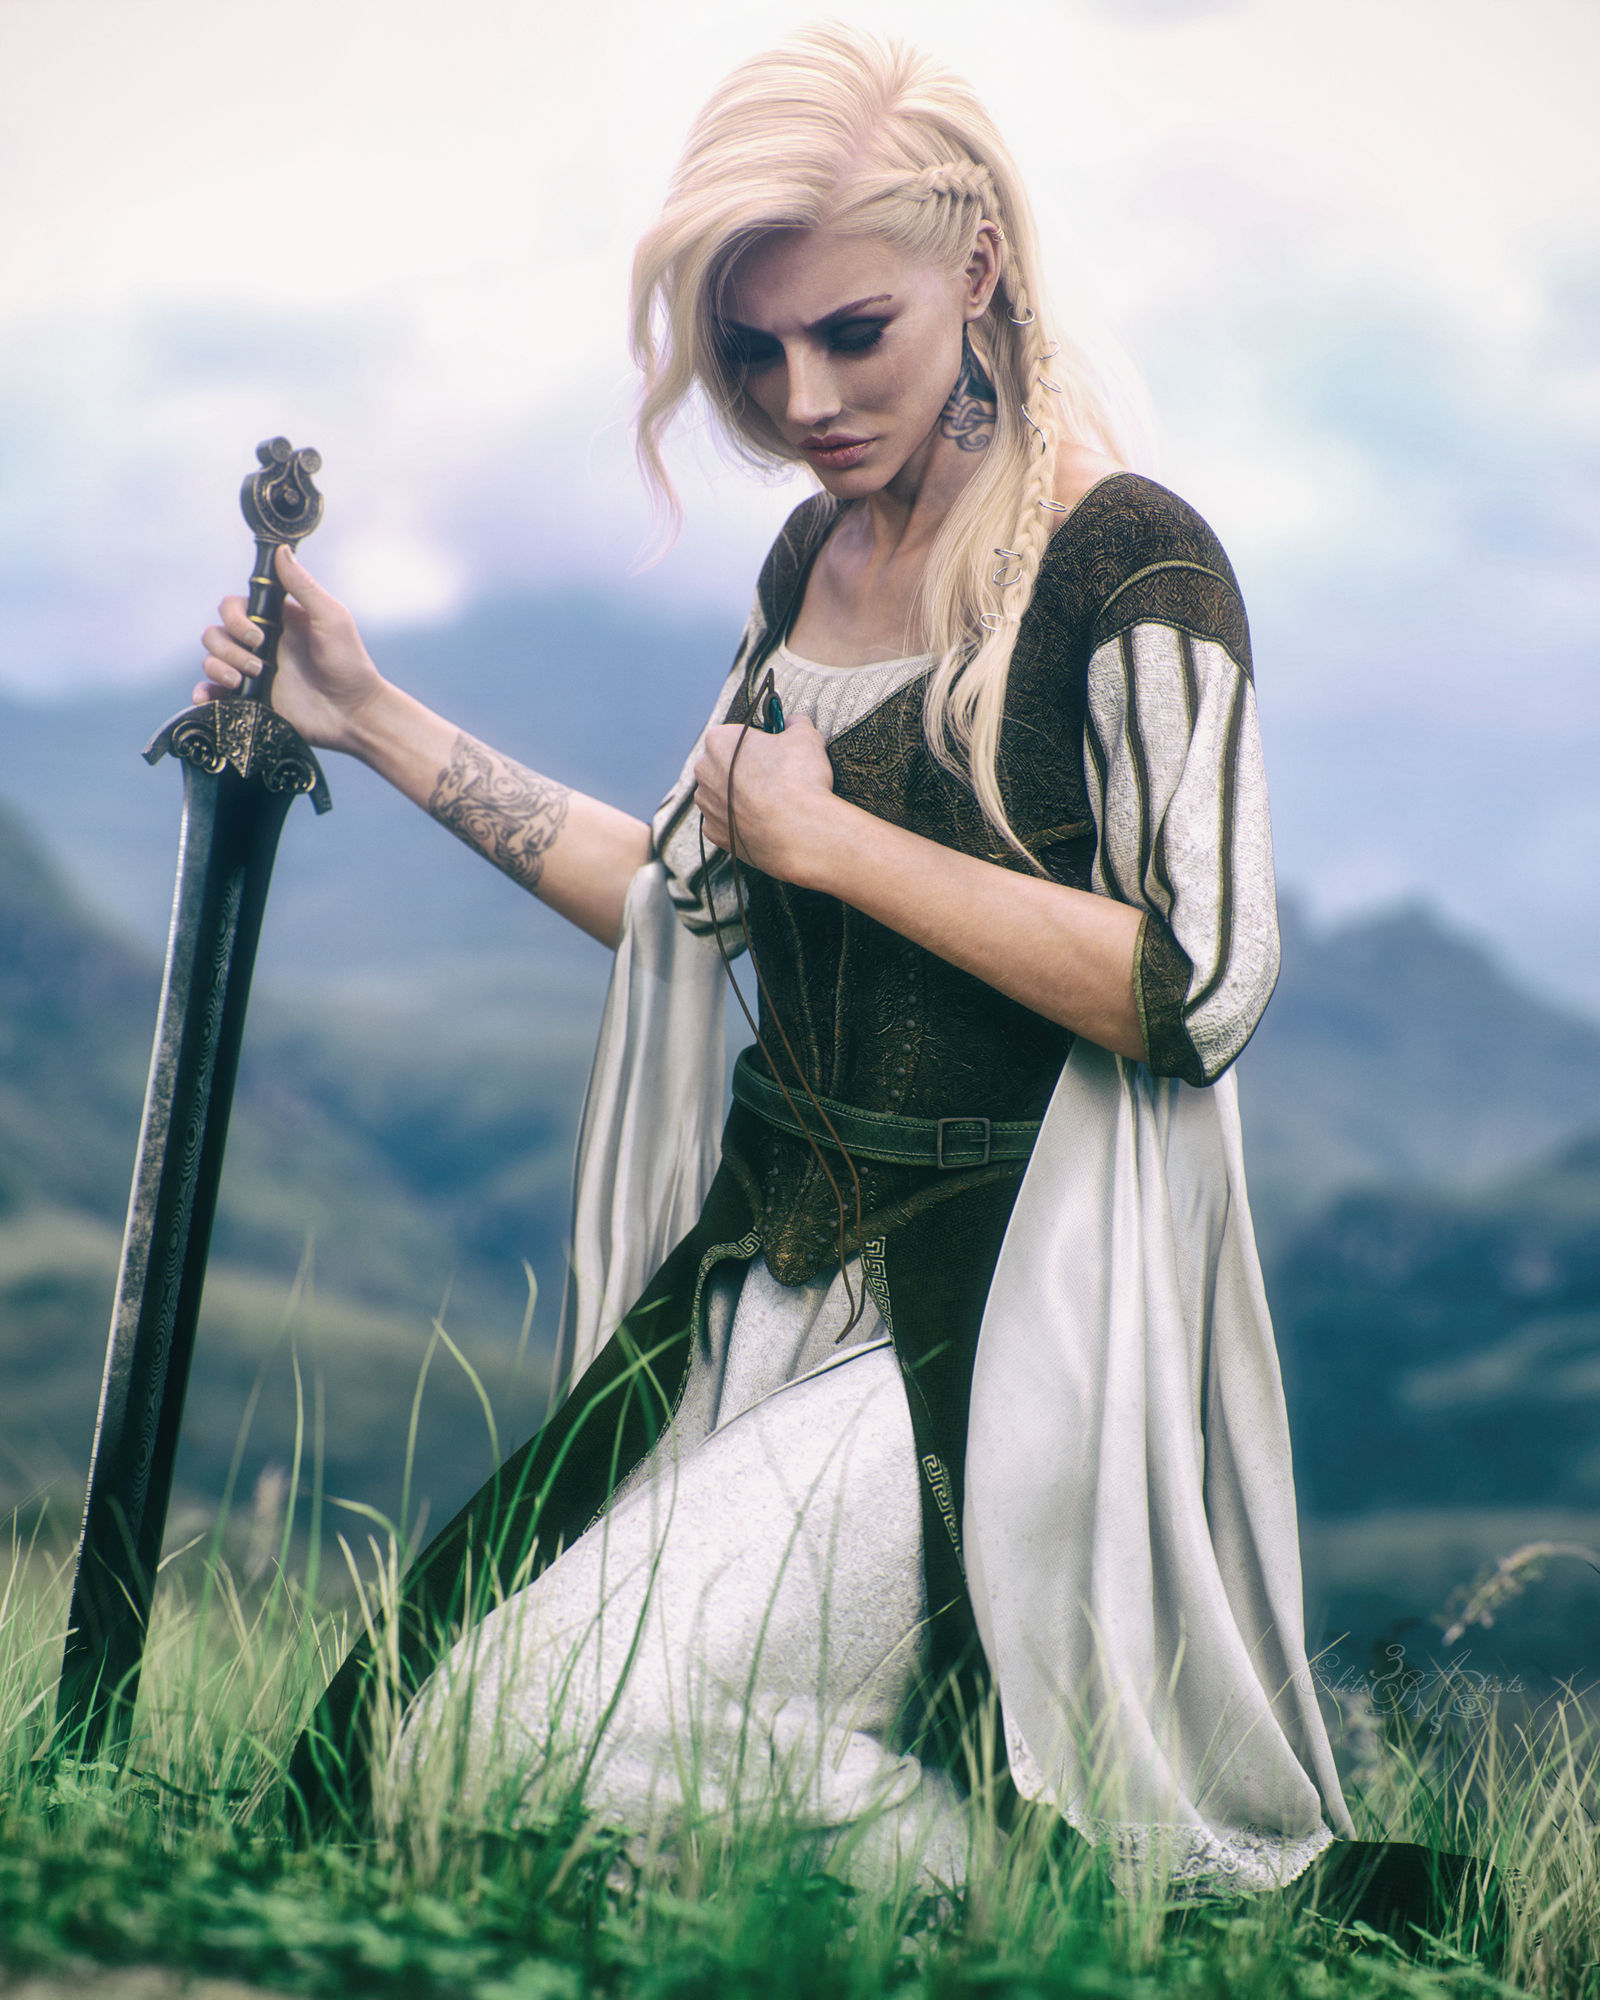
This one is in an outdoor setting. There are things that bother me about the outfit (the sleeves don't have proper stitching where they join at the shoulder)...but I think the lighting is fantastic. It's another example of my simple setup...a good HDRI and a single spot with hair light -
 \
\
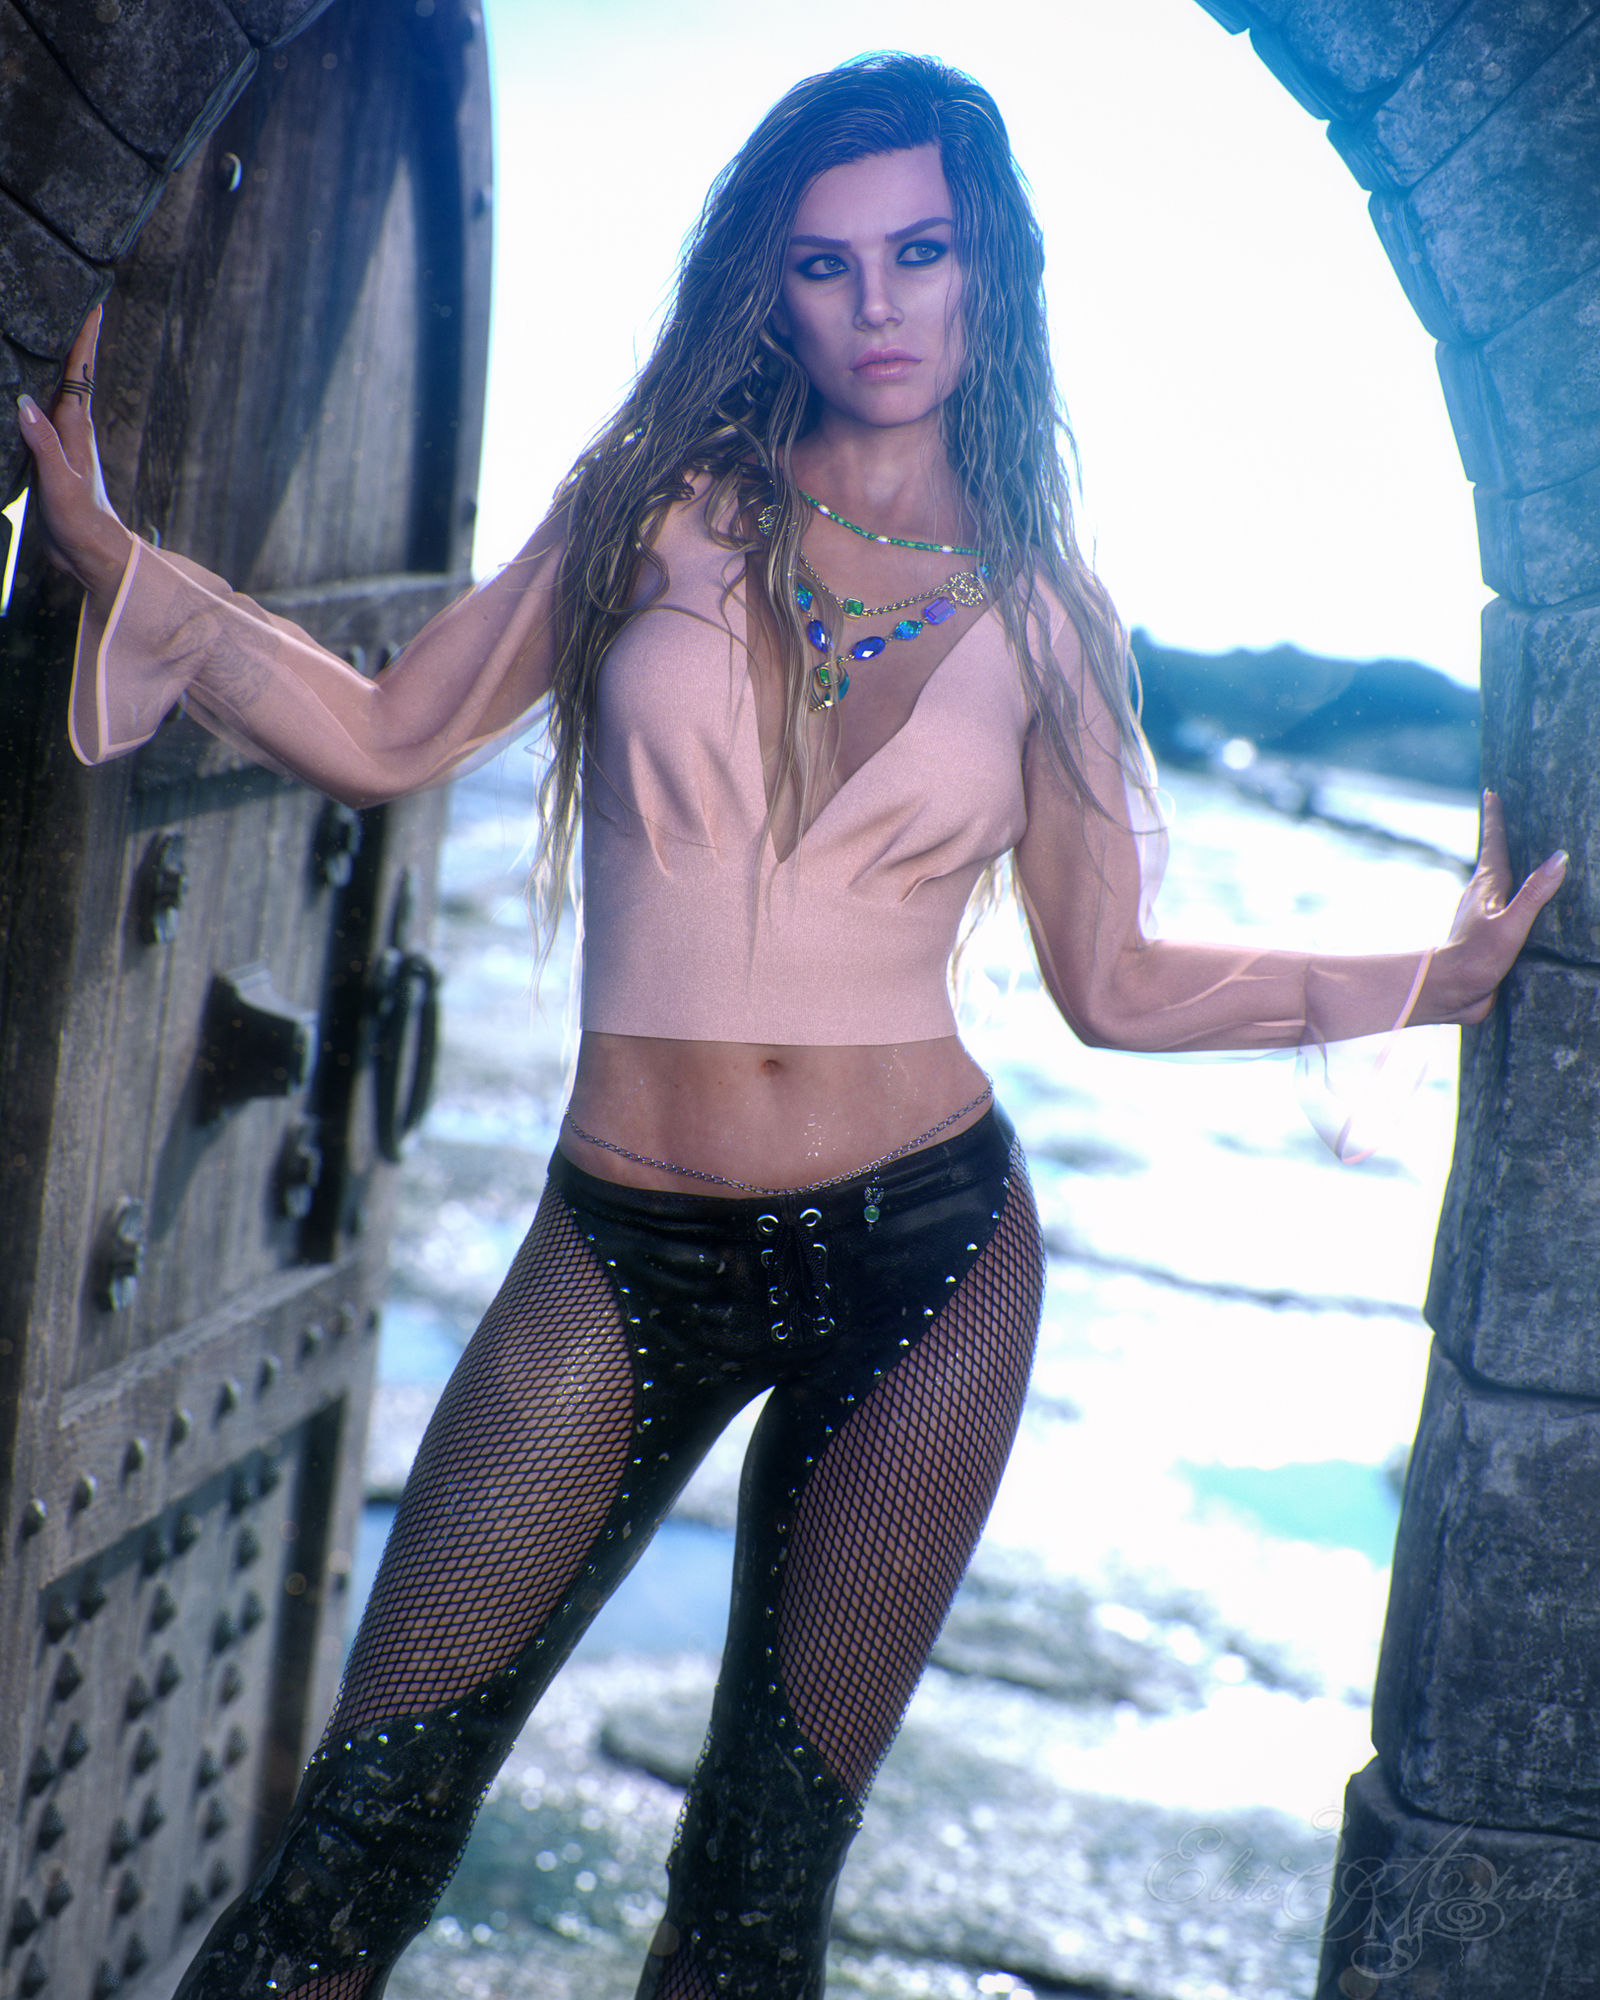
Here is a more modern example with the same character. Same type of lighting setup...good HDRI with single spot and hair light. I spent quite a bit of time getting the soft body at the waist as well as tweaking the pants to move properly in the crotch. Also lots of geoshells and decals on the pants to add the grunge.
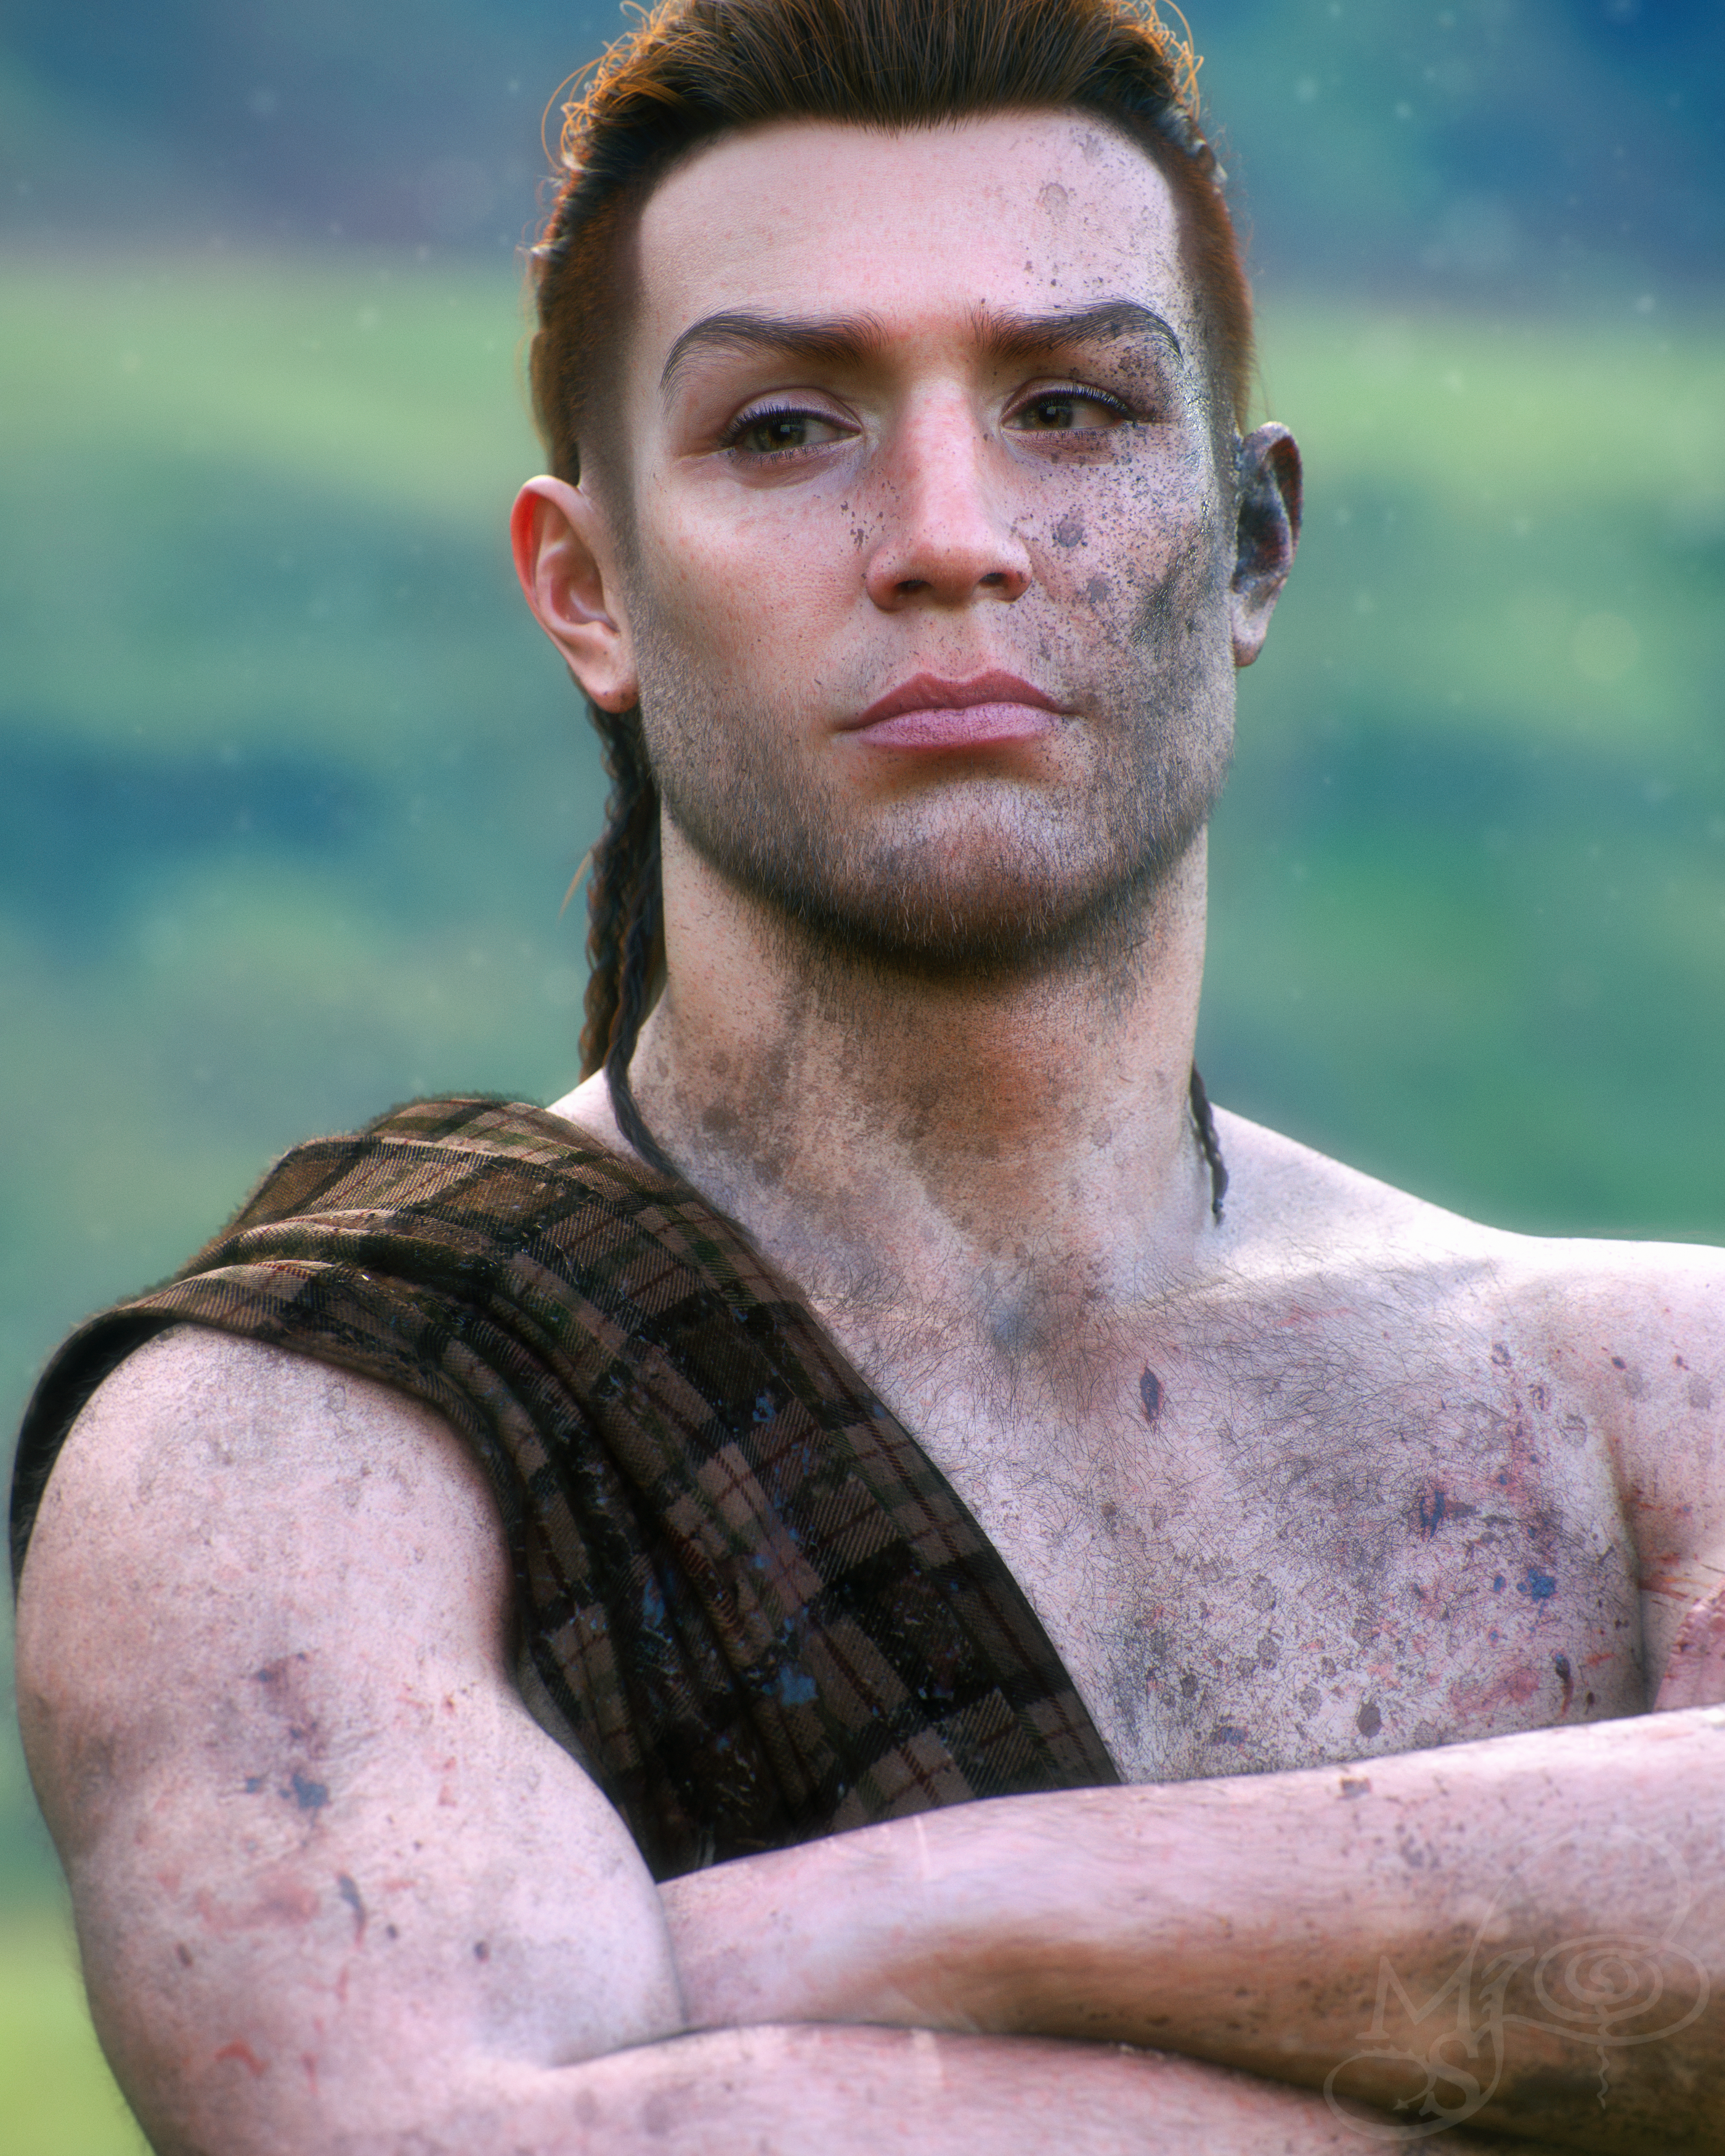
Here's a boy example! Same lighting formula. This one took forever to set up those grunge geoshells and decals. Also fuzz on the tartan sash. Yes, actual fuzz. Oh and that's three separate hair pieces kitbashed together.
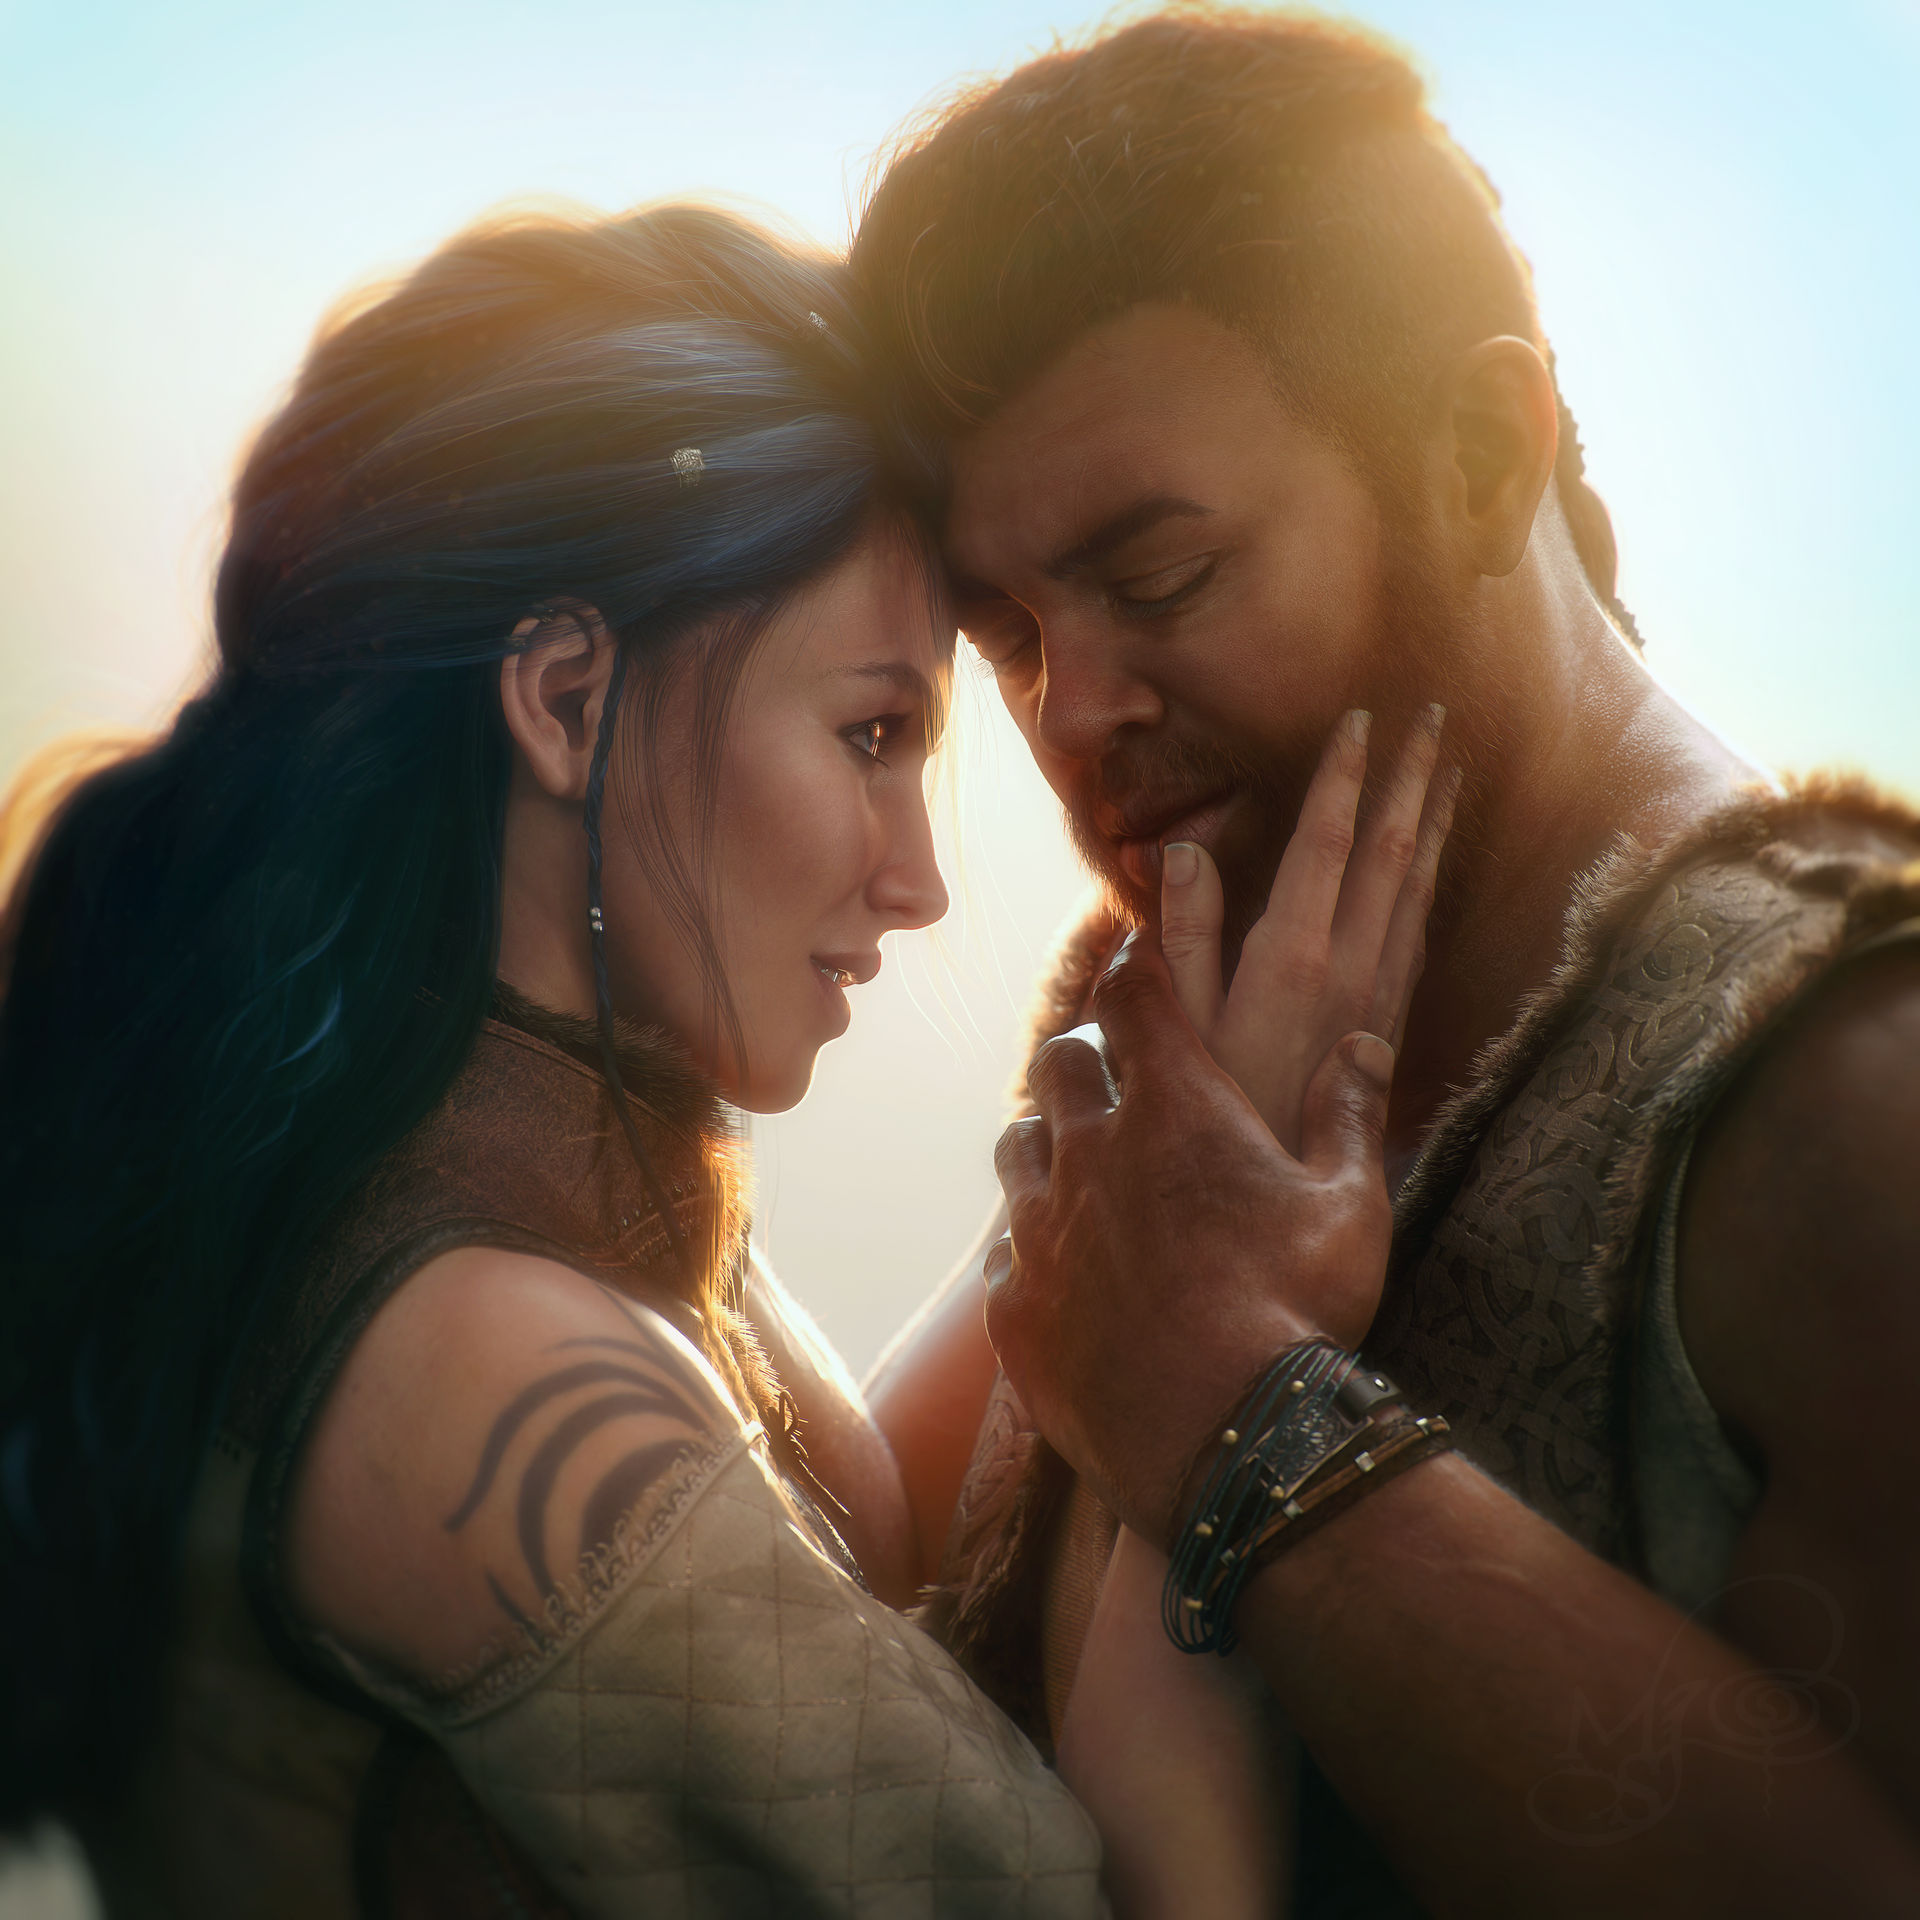
Last one. This one is not what I would consider photorealistic (I honestly don't particularly aim for photorealism anyways)...but I wanted to show how details matter. Her hair? That's (I think) four hairstyles kitbashed together. Also mesh tweaks with mesh grabber to add in the hair jewelry. His hair? Three hairstyles kitbashed together. Strand-based fur added to both outfits. Lots of geoshells that add things like dirt and grime to their outfits and skin to make things look lived in. Both characters have custom skin. Both characters are custom sculpts. The pose took FOREVER to look emotive and natural. F-O-R-E-V-E-R. Lots of mesh edits on the outfits to make them sit more natural. Lighting on this one is more complex because there are two characters at the focus. But still, primary lighting is done by HDRI (backlit)...with a single spot (key) and then some fill lighting and hair lights for both characters -
I hate responding in my own thread because it seems like that usually ends the discussion but I did want to say 'Thanks' to everyone that responded. Wow, some of you get amazing results. I've been trying some of the ideas posted here and while I'm not totally happy with the results they are getting better. But, please if you have any more suggestions I would still like to hear them!