How to change the way a texture is applied on a prop / surface ?
Hello,
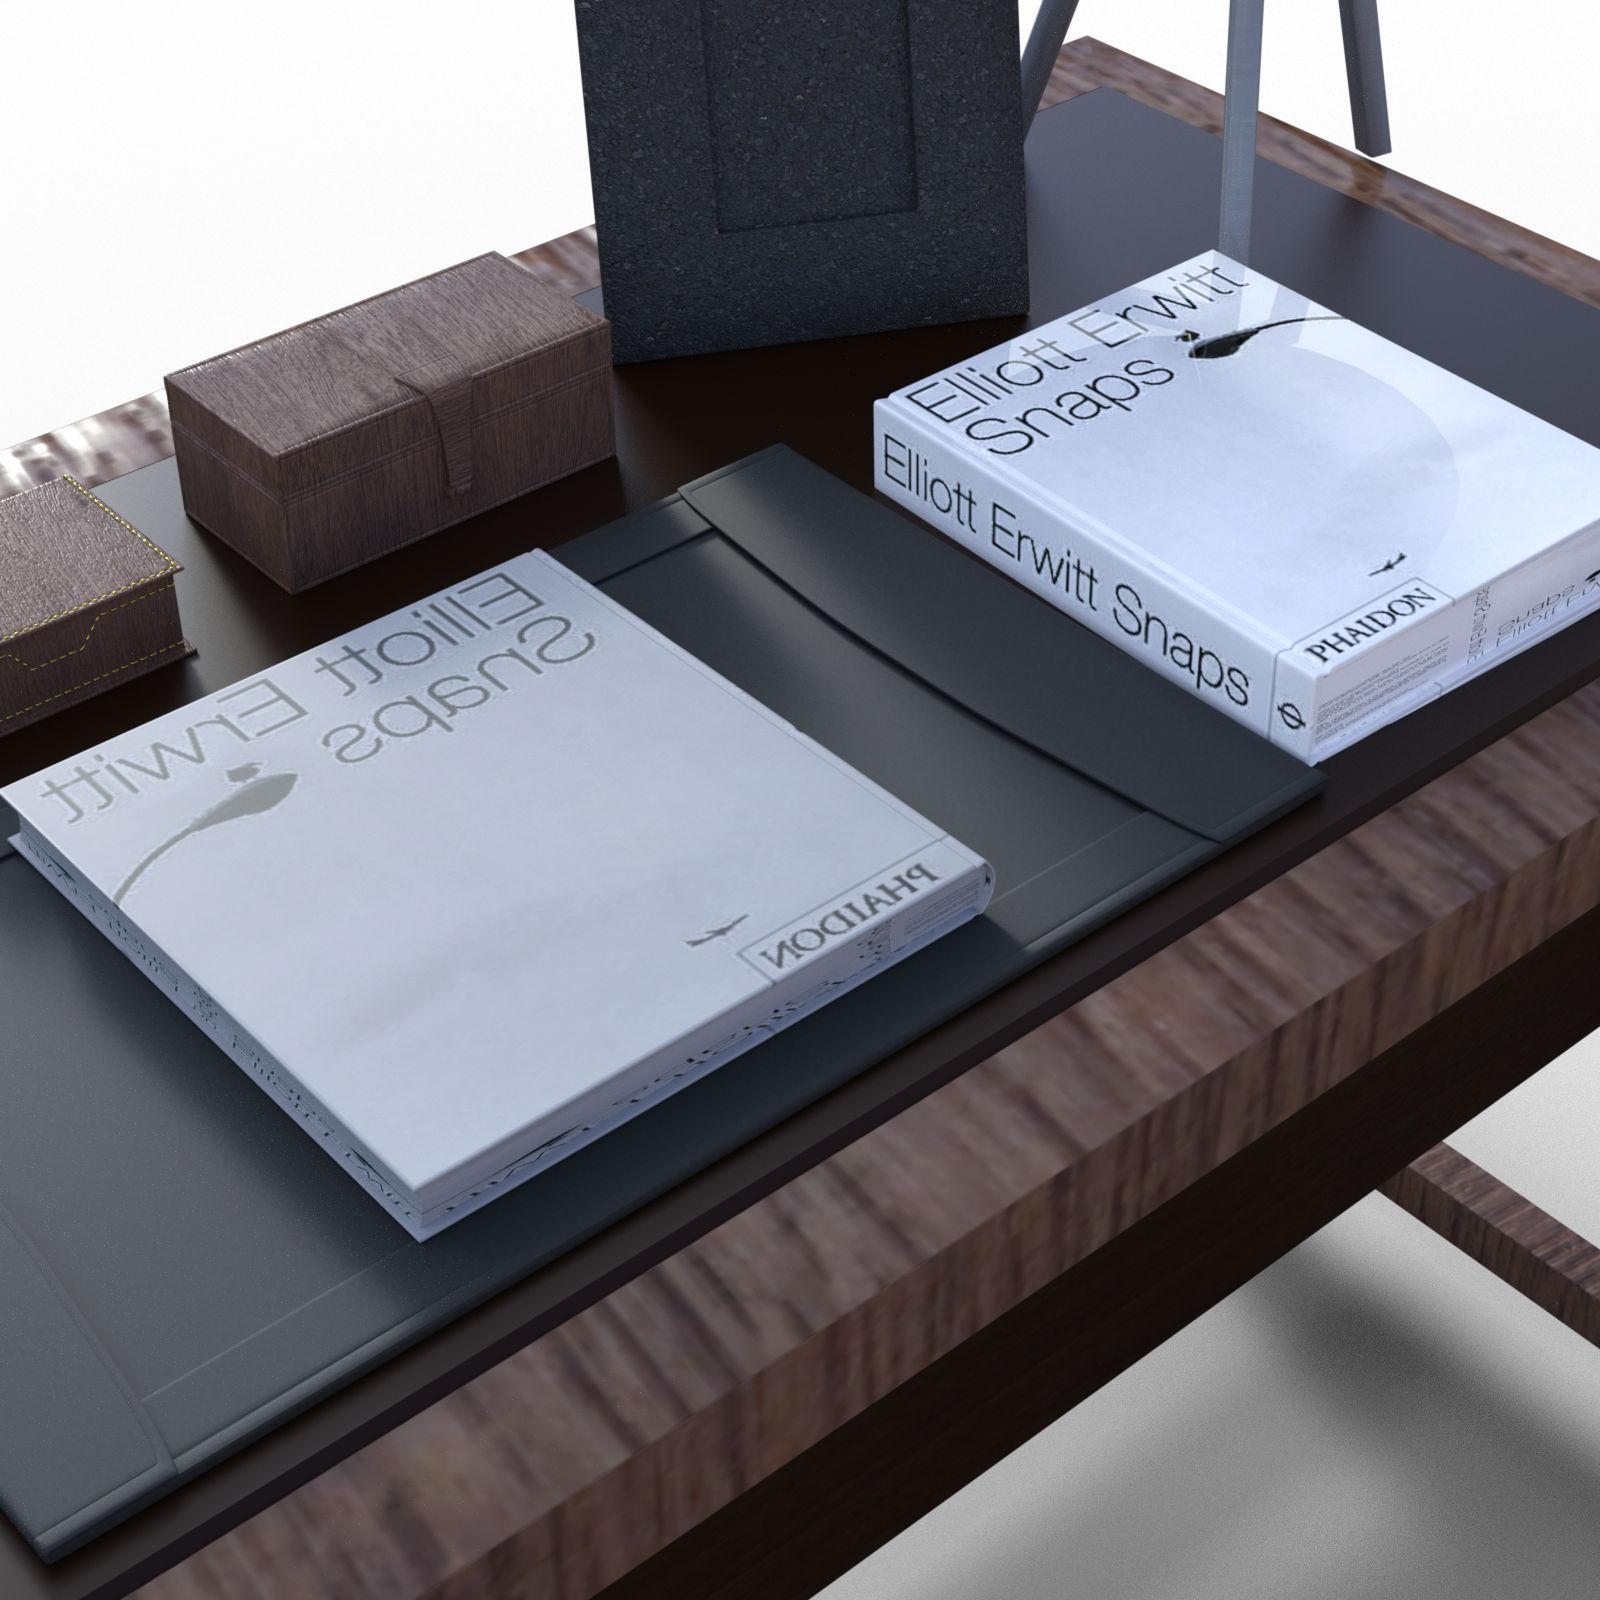
Looking at the desk of FE Modern Study, the text are mirrored compared to the same book taken from the shelf sitting behind the desk (it's the book on the right) and I don't know how to change that (without changing the texture file itself)

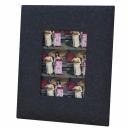
Another related question, with the same product: I tried to get a picture on the photo stand, so I selected all the polygons from that area, to create a new surface and it didn't work (here I changed the number of vertical and horizontal tiles to 10 I think, to show the problem).

Technically, I solved the problem with the books by using other books (I extracted all props from the desk to get individual versions of them and moved the lamp a bit, to prevent it from falling), but it would be nice to know how to get the correct orientation on them. And I have yet to find a solution for the second problem (I did try placing a primitive plane when the photo is supposed to be, but I failed to get the correct orientation), so if someone has one, I'm all ears 


Comments
One way may be to set the "Horizontal Tiles" in the cover material to -1 and then adjust the "Horizontal Offset' to line it up properly.
Regards,
Richard
I even didn't notice this issue before...
As Richard said, you just set -1 to Horizontal Tiles on the surface of "desk_Book_B" of the Desk prop, but the book is still "flipped". To flip it... if you own Mesh Grabber, firstly select the "desk_Book_B" surface with Geometry Editor, swith to Mesh Grabber, with Normal orientation, zero Falloff Radius, then rotate and translate the book to the right position.
If you don't have Mesh Grabber, you also can "cut" the book surface from Desk with Geometry Editor, export / import it as a single book Prop...then rotate and translate it. However, making it with the prop "FE Book_D" will be much easier.
As for the "photo issue", it results from its UV layout. If you check the UV layout, you'll find where the photo should be (in ss1). Then you use that layout to place your photo in the right place with an Image Editor (ss2). Save it as a PNG file with transparent background. Then add it to the Base Color slot with Layered Image editor. (ss3)... Finally set Horizontal Tiles and Vertical Tiles to 1.
Or directly use another photo stand Prop...
I didn't know it was possible and doing solve the problem nicely: I played a bit with the offset to get a sligthly better look on the spine of each book, but the geometry is not compatible with the front cover being visible with this trick.
But your suggestion made me 'remember' the -100% scale trick and it solve the problem at the price of reversing everything on the desk. I said 'remember' because when I loaded the desk preset I created (just two days ago… ) after extracting all props from the "Desk item" I saw that I did use the -100% X Scale trick on the two books but didn't think of using it on the "Desk item" itself.
Did you see that the lamp is a second away from falling on the floor, with its third feet not placed on the table ?
Less visible, the leg of the photo stand is something like a couple of millimeters (to be fair, I only saw this when I was moving the lamp in Hexagon to create a morph fixing its position, so I created a morph for the photo stand in the process but I don't know if I'm allowed to share them).
And on the wall with the painting, for a reason I don't understand, there is a layer of glass a couple of centimers away from the wall (maybe it's supposed to be the glass over the painting ? but from what I can see, the whole wall is covered).
I like the product, but some decisions during its creation are a bit strange: why are the desk and the props on it merged when the shelf and the props on it are not ?
I have Mesh Grabber, but didn't think of using it like you suggested.
I spent an hour listening to a podcast to extract every prop from the desk to create a preset for each of them Well, almost every prop to be honest: I didn't get as far as getting the pen in the three glass holders as independant props but I modified the magnifier to get a lens made of glass, added surfaces here and there. I also did the same with the wall and windows item, to get an independant ceiling and backdrop from the former and an independant painting and window from the latter.
Regarding this process, do you know if there is a (hopefully easy) way to remove the baked rotations and translations and get these props at world center in a more neutral position ?
I don't think I have another photo stand prop like that, but after creating a surface for the photo in Daz Studio, I fumbled my way through Hexagon and I was able to change the UV map of that surface in Hexagon to at least remove the rotation (as best as I can)
I still had to play with the tilling and the ofsets to get the whole photo centered on the surface but I suppose it's fixable somewhere in the UV map (and one day I'll learn how to do it), but it does look good enough right now:
Hoho ~ I just noticed all the issues you mentioned above, 'cause I just caught a glimpse of the room after I bought and load the product at that time. And you're right, the desk was made with wrongly settings at least on Z Scale. Setting it to -100 is a straight-forward way.
Well done for splitting the props as well as "remaking" the photo stand !
As for removing the baked rotations / translations, though you always can manually move / rotate it to the Origin... there's still a quick and most accurate way: Let's cut the lamp from that desk, then:
- Create a primitive plane, a size of 10 cm is fine enough. Open: Windows - Pane - Align, or click the Align icon on the toolbar. (ss1)
- Hold Ctrl key to first select the Plane, then the lamp. Choose the options in X, Y, Z Axis dropdown list as shown in ss2. Click Apply. Now the lamp is 100% correctly at World Center. But if its Rotation was not originally set properly, you have to rotate it yourself.
- Now export it to OBJ with the settings in ss3. Import the OBJ. Now its Center/End points are reset and aligned.
- Done ~ (ss4)
Thank you
I didn't think about using the Align tab: it'll make zeroing the props faster.
I suppose there is no solution for rotation and I'll have to do it by hand, most likely in incremental steps, fixing one axis, saving as obj and using that obj as a base.