Daz 3D is part of 
Connect
DAZ Productions, Inc.
7533 S Center View Ct #4664
West Jordan, UT 84084
Licensing Agreement | Terms of Service | Privacy Policy | EULA
© 2025 Daz Productions Inc. All Rights Reserved.
Comments
Ahh, thanks. Had tried just turning off their visibility, and the last joints of the fingers disappeared. Forgot that you have to actually delete them!
RawArt, I have long admired your work, and the way you interact with the community. I am totally excited about the results you show for this product. But I confess to feeling totally intimidated by the process. I will place this item on my wishlist. It may sit there for awhile. I need to gather up emotional and physical strength for an impending knee replacement surgery.
I'd like to suggest you find some people who are not quite as advanced as you, and use them for feedback on whether they find the product easy to understand or use. It often helps to have that outside insight. I wish you all the best.
I know this product is not an easy one to understand....almost didnt make it for that reason, and am second guessing making a new one if another generation comes out down the road.
Unfortunatly there is no easy way to achieve these results, unless I really dumb down the functionality. So it is a bit of give and take as to what goes into it.
Maybe a few years down the road when a next generation comes we might have new tech to play with in d/s that makes it easier....but for what I had to work withwhen I made this, this is the best I came up with.
I feel like I am the outlier because I didn't find the figure confusing at all. It is basically a figure with extra UV areas, morphs and geografts; beautiful craft but nothing particularly complex?
You make a good point, nemesis10! RawArt, don't be discouraged. This thread should help people understand the product better. This will in turn help weed out the difference between eternal bumbling beginners like myself, and more talented people like nemesis10. RawArt, believe me, I really am impressed by PA's such as yourself who have the talent to create such fine products. I'm lucky if I feel proficient dealing with the simpler items.
Not so much talented but just forgetful that there are a lot of users who have no Pro sets and so have no geograft genitals for their figures. Once you understand what a geograft is (be it horns, genitals, or finger covers), have a sense what the Scene tab, Surface tab, and Shaping tab shows, and learn the difference between a Material setting and a Shader, the figure is quite understandable. I think people get confused by thinking it is a wearable rather than a figure.
OMG! this is so hard. How in the name of the Lord do I select the areas of this No Suit? If I use the surface tool it will select only the body parts as always (arms, torso, head ecc). I needed this for speeding my work but it's only slowing me down a lot!
HELP!
Which areas?
I'm able to select the parts with the surface tool, but if you're unable to the easiest way might be to find them in the Surfaces tab. Under the figure you'll see organized folders with all the No Suit specific bits.
I was so excited when I saw this product introduced in this thread. Many years ago (a decade or two?!), a similar product was introduced. It was much easier to implement. I have since lost it, and miss it.
I still think this is a good product for those who are able to understand it, or able to find the proper help to accomplish the goal. I already have way too many products that mystify me.
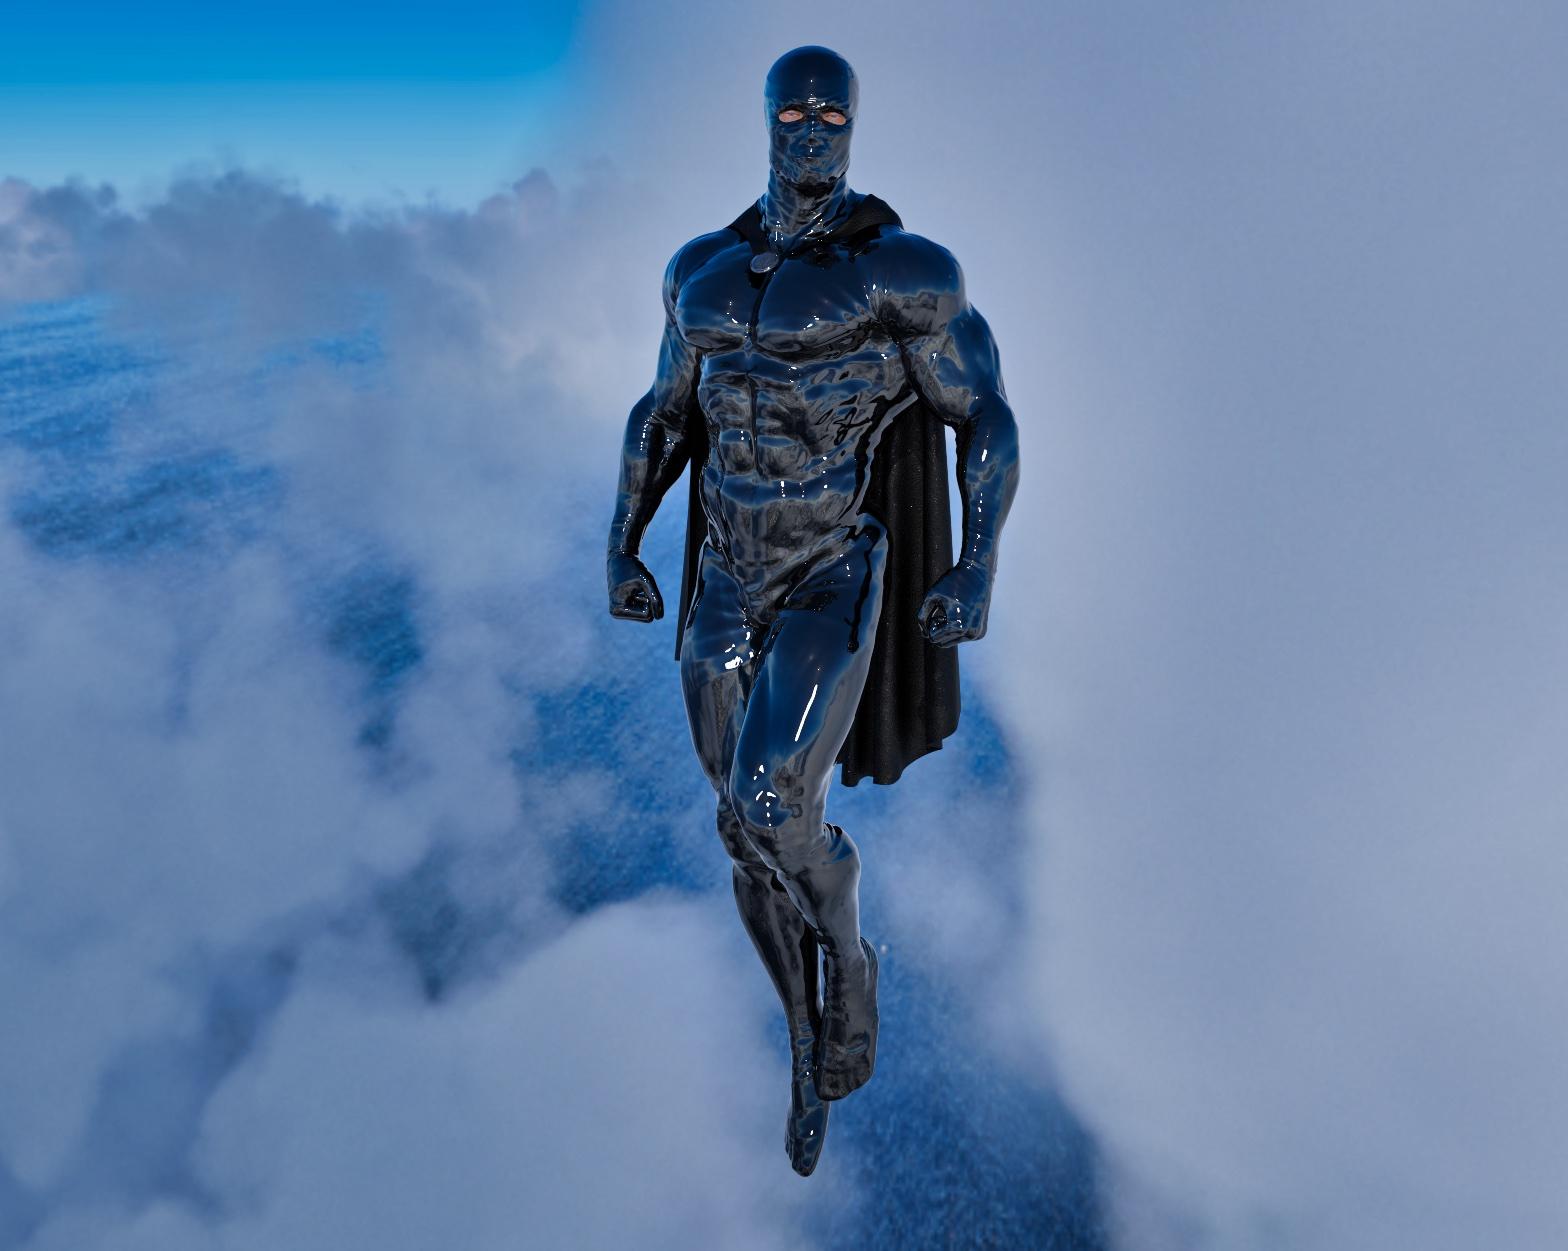
A quick render
the parts
The parts labeled "graft are the geografts, the parts with normal names like face and torso are the normal surfaces, and the other surfaces such as torso_cowl are the new added surfaces. Additionally, there are a set of morphs (search the shape tab for "no suit").
My workflow is
I am hoping that there will be a no suit for 8.1. This is a product I love.
The no-suit is a love/hate project for me................I personally find it very useful, but making it is a ton of work, and explaining how to use it can be a nightmare at times. So I am always trying to come up with ideas to make it easier to use.
I have no immediate plans for G8.1, but already have some ideas in the back of my head for whenever G9 rolls around.
I may end up using geoshells next time around. It loses some of the functionality, but really increases the ease of use.
But I will maybe leave it open here...what are you (the customers) loves and hates about this no-suit concept?
Having explained how to use the no-suit in several posts, I would say that only thing it really needs is a pdf or tool tips or something in the read-me to explain how to use it. The steps are easy but the order is not intuitive. In the image I posted, I wanted an outfit that matched the helmet. I loaded the character onto the no-suit character (people do need to understand that it is a character and not an outfit or geoshell), posed him, applied the default no-suit shaders, applied to the character's texture, went to the Surface Tab and copied the surface from the character to its daughter no-suit surfaces, changed the colors as I suited, added helmet, pose, prop and HDRI, and rendered. Nothing difficult but it was important to load the default texture first and not the character's textures. The new user currently has to figure it out themself or see an explantion in the forum. Other than that, it is wonderful for creating a lightweight undersout, super hero outfit etc... If i had to have anything else, I would have two no-suit characters, iray and 3dl, because it is easy to have the wrong shaders on the geograft.